[TH] How to build MicroPython for esp32-C3.

บทความนี้กล่าวถึงการคอมไพล์ (build) และใช้งาน MicroPython สำหรับไมโครคอนโทรลเลอร์ esp32-C3 ที่ได้เคยแนะนำไปแล้ว โดยขั้นตอนยังเหมือนกับการคอมไพล์สำหรับ esp32-s2 นอกจากนี้ทีมงานได้ดำเนินการแก้ไขปัญหาเรื่องของ RS232-to-USB จากที่บอร์ดใช้ CH340 ไปต่อขาภายนอกโดยใช้ CP2102 แทน และต่อโมดูลแสดงผลด้วย OLED ดังภาพที่ 1

ภาพที่ 1 บอร์ด ESP32-C3 ที่ต่อเติมโมดูล OLED และขาสำหรับเชื่อมต่อภายนอก

[EN] machine.SPI

From the article machine.Pin, it has been discussed using a microcontroller pin to import and export data and in the article I2C bus communication which uses the machine.I2C class to communicate between devices. Now let’s take a look at the machine.SPI class, another form of communication that has been recognized for its speed and is commonly used with a graphics display (esp8266/esp32 article) or SD-Card reader (esp8266, esp32article).

[EN] ESP32 machine.Timer

This article discusses the use of 4 timers of the ESP32 to be used to run the program when it meets the specified time. Difference Between Using Timer and Delay time.sleep()/time.sleep_ms()/time.sleep_us() is that time delay is a loop to allow the processor to spend time looping to complete the specified amount of time whereas the timer uses the principle of having a function run every time a specified time is reached, so while a timer does not call a function to execute the processor has idle time for other processing, and unlike interrupts, it is a timer interrupt instead of a pin state interrupt connected to an external circuit.

[EN] Arduino : DHT Sensor

This article describes how Adafruit’s DHT Sensor library is compatible with all Arduino-compatible architectures, making it easier to deploy DHT sensors for humidity and temperature readings across multiple platforms. This article has tested with ESP32, ESP8266, Arduino UNO and stm32f103c and found that it can be used without modifying the code in the working part or having to modify the source code to make it compatible with the platform.

(Figure. 1 dht22 and BluePill)

[EN] Bare Metal Cortex-M Ep.1

This article is a series of programming articles focused on the Cortex-M0 via the STM32F030F4P6 or any other STM32 microcontroller based on CMSIS, an ARM firmware compiled from vivonomicon.com‘s series of Bare Metal: STM32 Programming articles without using the Arduino framework. In the article EP.1 is a matter of preparation. It consists of creating a link file to link different parts of the code together and the working part file. After that, the result file is uploaded into the microcontroller to complete the program development process.

(Figure. 1 STM32F030F4P6)

[EN] Arduino : RTC DS1302

From the article programming Python on Micropython to use RTC number DS1302, this time, we change the programming language to C++ for Arduino by using STM32F030F4P6 Cortex-M0, esp8266 and Arduino Mega as a worker instead of ESP32 as shown in Figures 1, 2 and 6 by show the report on the RS232 port to display the date and time as shown in Figure 4.

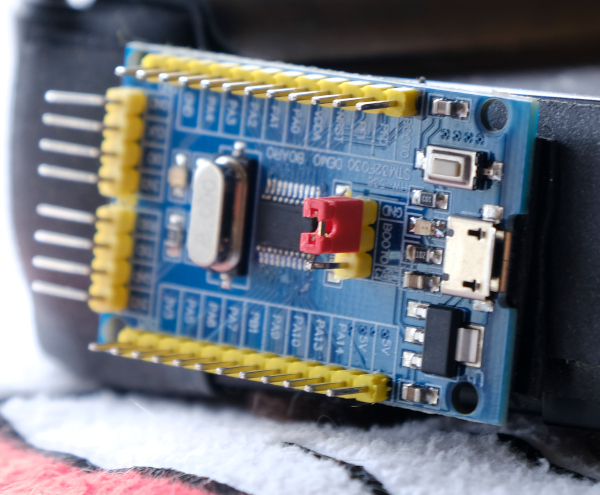
(Figure. 1 DS1302 experiment with STM32F30F4_6.)

[EN] Arduino: JoyStick Shield

This article is a guideline on using GamePad/Joystick with Arduino Uno or Arduino Mega because it is a module designed as a shield of both boards. When assembled, you will get 1 cute gamepad as shown in Figure 1. The article explains more about the information of the connection between each device and the GPIO with examples of use. The content about the joystick module can be read from the previous article.

(Figure. 1 Joystick Shield)

[TH] How to build MicroPython for esp32-s2.

บทความนี้กล่าวถึงการคอมไพล์ (build) และใช้งาน MicroPython สำหรับไมโครคอนโทรลเลอร์ esp32-s2 ที่เป็นบอร์ด TTGO ESP32-S2 V1.1 หรือ TTGO ESP32-S2-WOOR V1.1 ซึ่งมีพอร์ต USB แบบ Type-C ที่รองรับการทำงานผ่าน CH340C และแบบ OTG ด้วยการใช้ดิปสวิตช์ดังภาพที่ 1 ทำให้สามารถใช้ MicroPython ได้ เนื่องจากการโปรแกรมชิพใช้การโปรแกรมผ่านทางวงจรของ CH340 และการใช้งานภาษาไพธอนจะต้องอาศัยพอร์ตที่ทำงานแบบ OTG

TTGO ESP32-S2 V1.1
ภาพที่ 1 TTGO ESP32-S2 V1.1