[TH] ESP-IDF Ep.9 : LEDC (PWM) Output

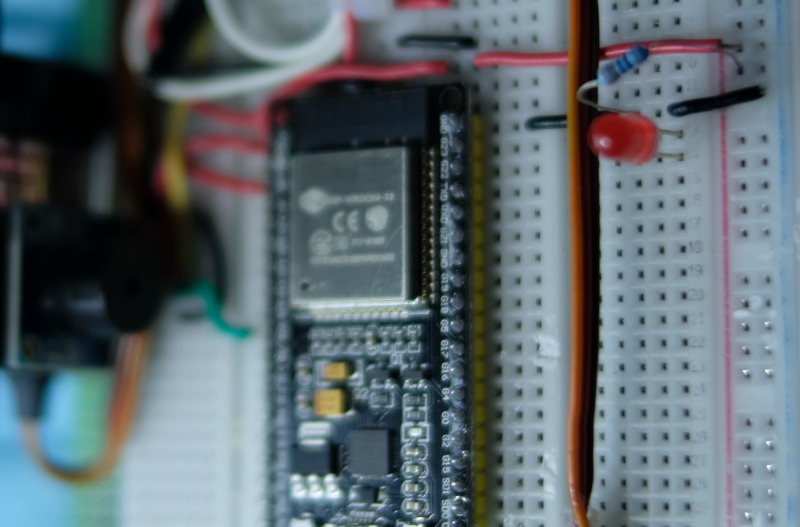
บทความนี้กล่าวถึงการใช้งาน GPIO ของ ESP32 เพื่อทำหน้าที่นำออกสัญญาณดิจิทัลแบบ PWM หรือ Pulse Width Modulation หรือ LEDC (LED Control) ซึ่งทำให้สามารถสร้างคลื่นความถี่ หรือปรับสัดส่วนของสถานะ 1 และ 0 ใน 1 ลูกคลื่น ด้วยเหตุนี้ในกรณีที่ไม่มีภาค DAC ผู้เขียนยังคงสามารถปรับค่าเฉลี่ยของแรงดันที่ขานั้นได้ตามที่ต้องการ และสามารถประยุกต์ใช้ในการควบคุมมอเตอร์แบบเซอโวได้อีกด้วย ดังนั้น ในบทความนี้จึงเป็นการเรียนรู้การใช้งาน PWM และประยุกต์เข้ากับการส่งคลื่นความถี่แทน DAC  (จากบทความที่แล้ว) และการหรี่หลอดแอลอีดี โดยใช้บอร์ดทดลองดังภาพที่ 1
LEDC / PWM Labs.
ภาพที่ 1 การต่อใช้งานประกอบตัวอย่างการใช้งาน LEDC

[EN] Arduino: STM32F030F4P6

This article is about using a 32-bit microcontroller board under the Cortex-M0 architecture RISC that is economical but the performance is considerably better than the 8-bit board. However, our team has created an alternative for those who are interested in reading. The article starts with the content about the features of microcontrollers, board installation for Arduino IDE to know and example code to toggle LED, traffic through the USART communication port and Prime numbering test to see the processing speed in an iterative loop.

(Figure. 1 STM32F030F4P6)

[TH] ESP-IDF Ep.8 : DAC Output Part 2

บทความนี้กล่าวถึงการใช้งาน GPIO ของ ESP32 เพื่อทำหน้าที่นำออกสัญญาณแอนาล็อกผ่านทางโมดูล DAC ขนาด 8 บิตของไมโครคอนโทรลเลอร์ ESP32 ต่อจากคราวที่แล้ว โดยในบทความนี้เป็นการใช้การสร้างคลื่นแบบ Cosine เพื่อนำออกสัญญาณแอนาล็อกของไมโครคอนโทรลเลอร์ผ่านลำโพง และแสดงให้เห็นรูปของคลื่นที่ได้จากจอแสดงผลของออสซิโลสโคป ส่วนบอร์ดทดลองยังคงใช้ตามภาพที่ 1

ภาพที่ 1 การต่อใช้งานประกอบตัวอย่างการใช้งาน DAC

[EN] Arduino:ET-BASE AVR EASY4809

This article is the use of ETT‘s ET-BASE AVR EASU4809 board based on Microchip’s ATMEGA4809 microcontroller, which is used as an Arduino board running at 20MHz with 40KB FLASH ROM, 256 bytes EEPROM, 6KB of RAM, and a 10-bit ADC, which is said to have significantly higher features than the ATmega 368P used with the Arduino Uno or Arduino Nano. In addition, the board selected this time has more features than basic Arduino boards which you can read further from the web page of the board.

(Figure. 1 ET-BASE AVR EASY4809)

[TH] ESP-IDF Ep.7 : DAC Output

บทความนี้กล่าวถึงการใช้งาน GPIO ของ ESP32 เพื่อทำหน้าที่นำออกสัญญาณแอนาล็อกผ่านทางโมดูล DAC ขนาด 8 บิตของไมโครคอนโทรลเลอร์ ESP32 โดยทดลองสร้างเป็นกราฟฟันปลา (ดังภาพที่ 7) เพื่อส่งแรงดันดังกล่าวไปยังโมดูลลำโพงดังภาพที่ 1

ภาพที่ 1 การต่อใช้งานประกอบตัวอย่างการใช้งาน DAC

[TH] ESP-IDF Ep.6 : ADC Input

บทความนี้กล่าวถึงการใช้งาน GPIO ของ ESP32 เพื่อทำหน้าที่เป็นการนำเข้าสัญญาณแอนาล็อก โดยใช้วงจรการนำเข้าแรงดันจากการปรับค่าด้วยตัวต้านทานแบบปรับค่าได้ดังภาพที่ 1 ดังนั้น ในบทความนี้เราจะได้รู้จักการใช้คำสั่งเกี่ยวกับ ADC ของไมโครคอนโทรลเลอร์ ESP32 และการตั้งค่าเกี่ยวกับการปรับแต่งค่าของ ADC ใน menuconfig

ภาพที่ 1 การต่อใช้งานประกอบตัวอย่างในบทความนี้

[TH] ESP-IDF Ep.5 : GPIO Input

บทความนี้กล่าวถึงการใช้งาน GPIO ของ ESP32 เพื่อทำหน้าที่เป็นการนำเข้าสัญญาณดิจิทัล โดยใช้วงจรของคีย์แพดที่เป็นสวิตช์จำนวน 8 ตัวที่ทำมาต่อให้เป็นเหมือนเกมแพ็ดดังภาพที่ 1

Switches Game Pad
ภาพที่ 1 สวิตช์ที่นำมาใช้ประกอบบทความ

[EN] Arduino: LGT8F328P

This article discusses how to use Arduino with the LGT8F328P microcontroller, a microcontroller similar to the Atmel AVR atmega328P used on the Arduino Uno and Arduino Nano family, but with additional capabilities such as higher speed and has a higher resolution for converting analog signals and having a digital-to-analog converter as well, so this article will start from properties, board installation and example of using the features of this microcontroller.

(Figure. 1 LGT8F328P QFP32L)