[EN] Arduino: ESP32-S2’s DAC&ADC.
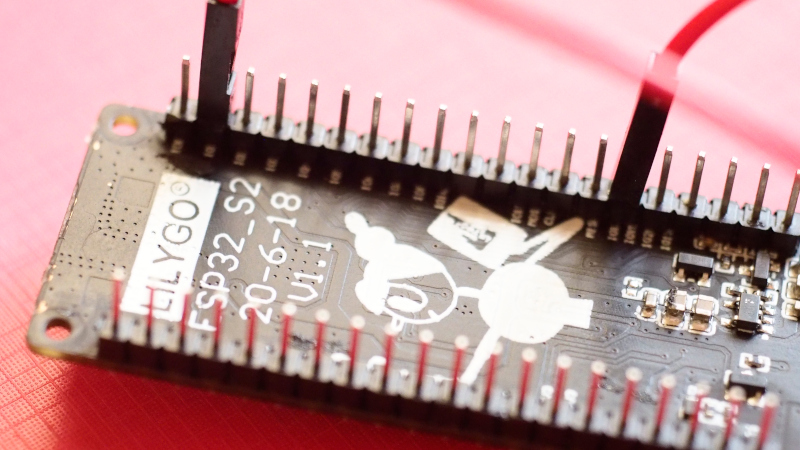
After testing the DAC and ADC of both the ESP32, SAM-D21, LGT8F328P and STM32L432KC, This time, it’s the time of the ESP32-S2 that we have. The test performance is still the same as before using the DAC. Three types of waves are sent out: zigzag, triangular, and sine waves and connect to the ADC pin to read the value and test the graph to see what it looks like.
In this experiment, DAC1 is connected to the ADC as shown in Figure 1. The ESP32-S2 has 2 ports of 8-bit DAC called DAC1 and DAC2. The ADC has a 12-bit resolution, which is seen to have the same properties as the ESP32, but whether the results are the same or not, you can tell that they are probably different because they use different microcontrollers. The ESP32-S2 uses the same one as the ESP32-S3 with only one core and no BLE.
[EN] Try the SoftHost USB library for ESP32.
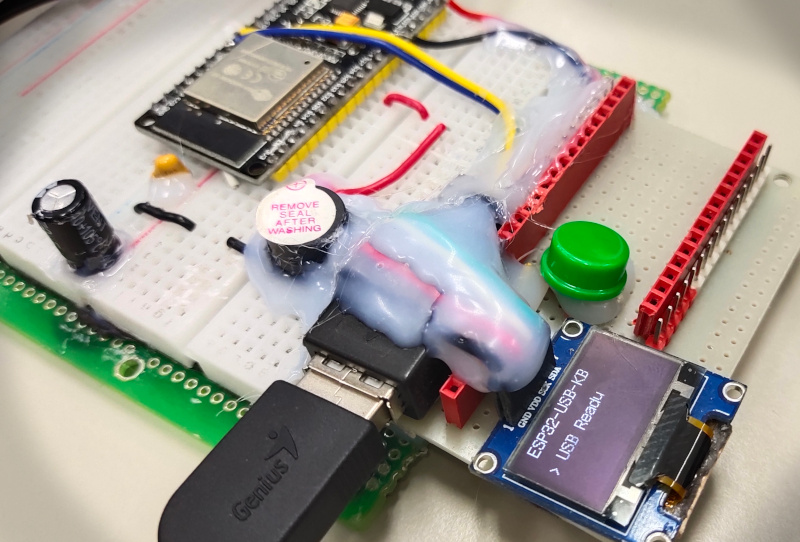
This article is an example of using nathalis‘s ESP32 Soft Host to try and test it on an OLED display with a resolution of 128×64 dots as shown in Figure 1 to receive data from a keyboard or mouse, it uses only a few GPIO pins but receives data from a keyboard with a large number of keys. Normally, the ESP32 microcontroller does not support a direct USB connection, so it requires programming by using a timer to check the status of the pins D- and D+ to be assembled into data at the byte level and assembled into packs of data for further interpretation.
[EN] Arduino: STM32L432 Nucleo-32’s DAC&ADC.
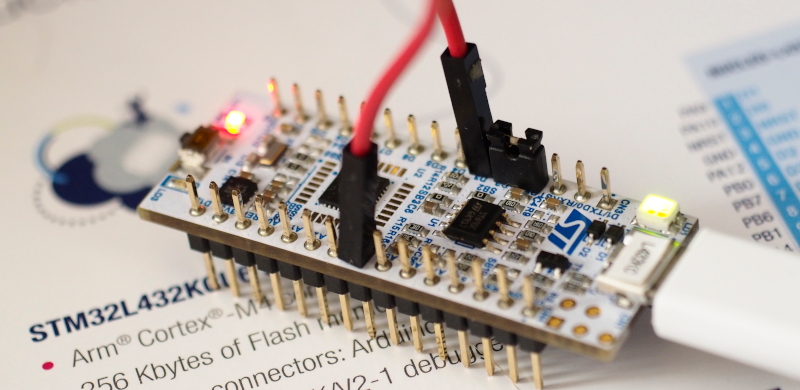
From reading the article Using STM32 Core Support for Arduino for Board Nucleo L432KC by Ajarn Rewat Siriphokapirom, we have provided the board to test and connect the pin for sending data output DAC to ADC as shown in Figure 1 to test the operation of the DAC and ADC of the board by using the working code like the ESP32 microcontroller board, SAM-D21 and LGT8F328P. Let’s get started.
[EN] Blender : Low Poly Man
This article is a record of the process of forming a low polygon with Blender, a free distribution software, and revealing the code. It is currently version 2.93.6 LTS, starting from the box and cutting off the left side. After that, use a Mirror Modifier to make the left and right sides the same. Making adjustments to only the right side, causing the left side to affect as well. After that, arrange the shape as shown in Figure 1.

[EN] Arduino: The LGT8F328P’s ADC/DAC.
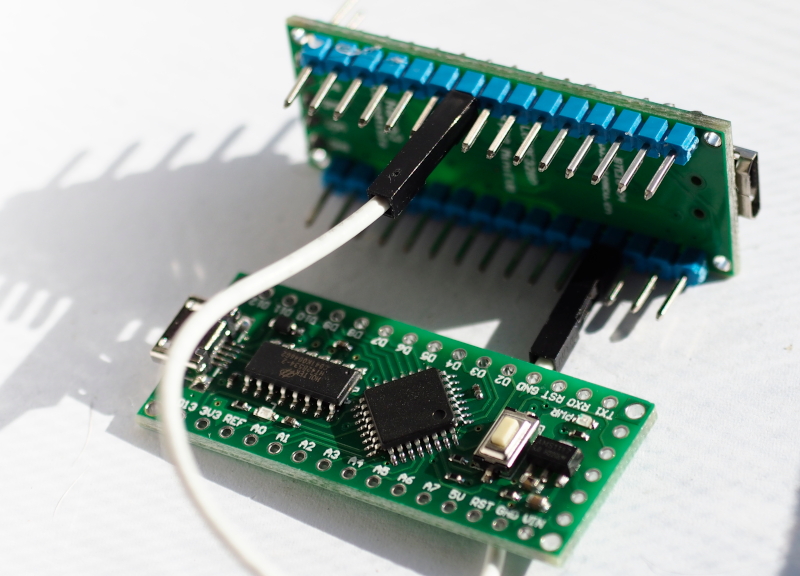
This article is a continuation of the previous article introducing the LGT8F328P board and its use of ADC and DAC. By focusing on the use for the chip LGT8F328P, which is different from the SAM-D21 in that it uses pin D4 as a pin that serves as DAC0 and the DAC circuit has a resolution of 8-bit. The output can be from 0 to 255. The ADC sector uses pins A0, A1, … normally and has a resolution of 12 bits. Therefore, in this article, the connection pins from A0 to D4 are used in the experiment as shown in Figure 1.
[TH] PIC18F458 Ep.2 เจาะรายละเอียด
ในบทความก่อนหน้านี้ได้แนะนำบอร์ดที่ใช้ในแล็บวิชาสถาปัตยกรรมคอมพิวเตอร์และซอฟต์แวร์ที่ใช้ในการฝึกปฎิบัติไปแล้ว ครั้งนี้เป็นเนื้อหาเกี่ยวกับคุณสมบัติและผังการทำงานภายในชิพ PIC18F458 จากเอกสารของบริษัท Microchip เพื่อเป็นพื้นฐานในการเขียนโปรแกรมใช้งานความสามารถของไมโครคอนโทรลเลอร์ต่อไปในบทความถัดไป (ส่วนรายละเอียดของ PIC16F877 สามารถอ่านได้จากบทความนี้ครับ)

[EN] Arduino ADC/DAC
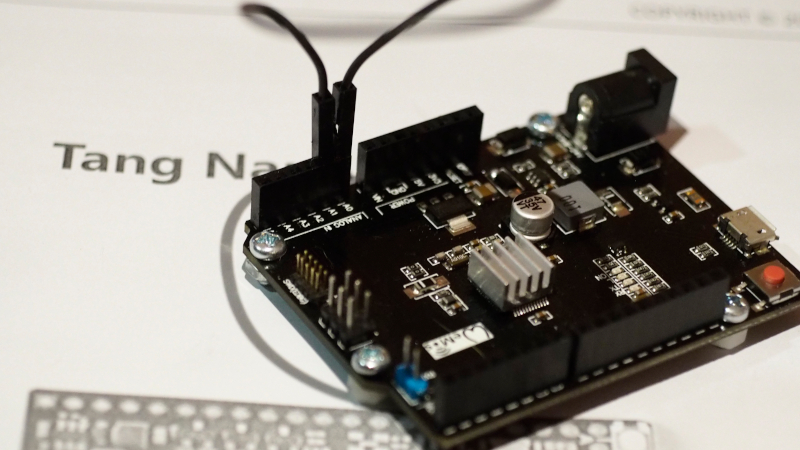
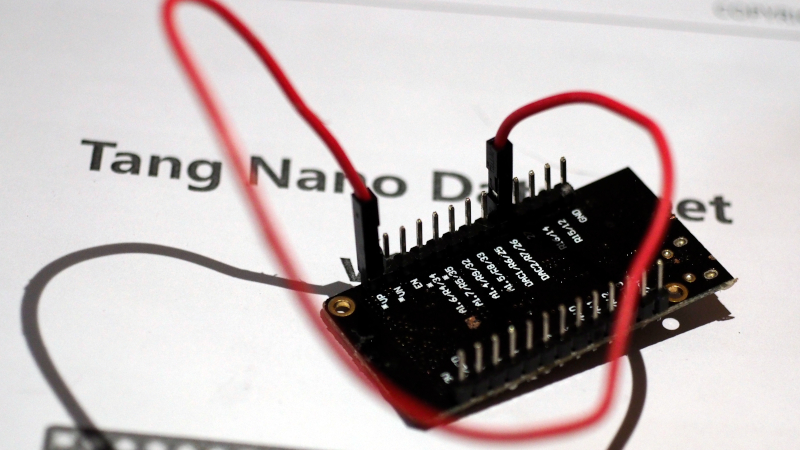
This article introduces the ESP32 and SAM-D21 microcontroller board to learn how to use ADC (Analog to Digital Converter) and DAC (Digital to Analog Converter) instruction by connecting the DAC pin to ADC as shown in Figures 1 (Connect A0 to A1 of Board SAM-D21 ) and 2 (Connect Pin GPIO26 to GPIO36 of ESP32) to send data to DAC and have ADC read it back. Then send the results out to the serial port for display with the Serial Plotter, which is an example program to send 3 types of data, which is a zigzag graph, triangular graph and waveform graph from the sinusoidal function
[EN] Cortex-M0+: SAMD21
This article introduces a microcontroller board based on Microchip’s ATSAMD21G18 chip based on 32-bit ARM architecture, Cortex-M0+ family in the form of a board based on the Arduino Uno family as shown in Figure 1.

[TH] PIC18F458/PIC16F877 Ep.1 อุปกรณ์ที่เกี่ยวข้อง
บทความนี้เป็นเรื่องของการใช้ไมโครคอนโทรลเลอร์ PIC ในตระกูล 8 บิต รุ่น PIC18F458 และ PIC16F877 อันเป็นไมโครคอนโทรลเลอร์ประเภท RISC เหมือนกับไมโครคอนโทรลเลอร์ตระกูล AVR และทางเราได้มีผลงานหนังสือเกี่ยวกับ PIC โดยใช้ภาษา BASIC (หรือสั่งซื้อจาก Shoppee) แต่ในบทความนี้จะเป็นภาษา C และบอร์ดที่ใช้เป็นดังภาพที่ 1 และ 2 แต่สำหรับในห้องปฏิบัติการของคณะเทคโนโลยีสารสนเทศ มหาวิทยาลัยราชภัฏเพชรบุรี เลือกใช้บอร์ดสำหรับเรียนรู้ในรายวิชาสถาปัตยกรรมคอมพิวเตอร์ดังภาพที่ 2 พร้อมใช้ชุดโปรแกรมชิพดังภาพที่ 3 โดยบทความตอนที่ 1 (บอร์ด CP-PIC V3/458 หรือ CP-PIC V3/877) นี้เป็นการแนะนำคุณสมบัติของไมโครคอนโทรลเลอร์และรูปร่างหน้าตาของบอร์ดทดลองในห้องปฏิบัติการ สำหรับการใช้งานส่วนต่าง ๆ ของ PIC จะกล่าวถึงในบทความตอนถัดไป

