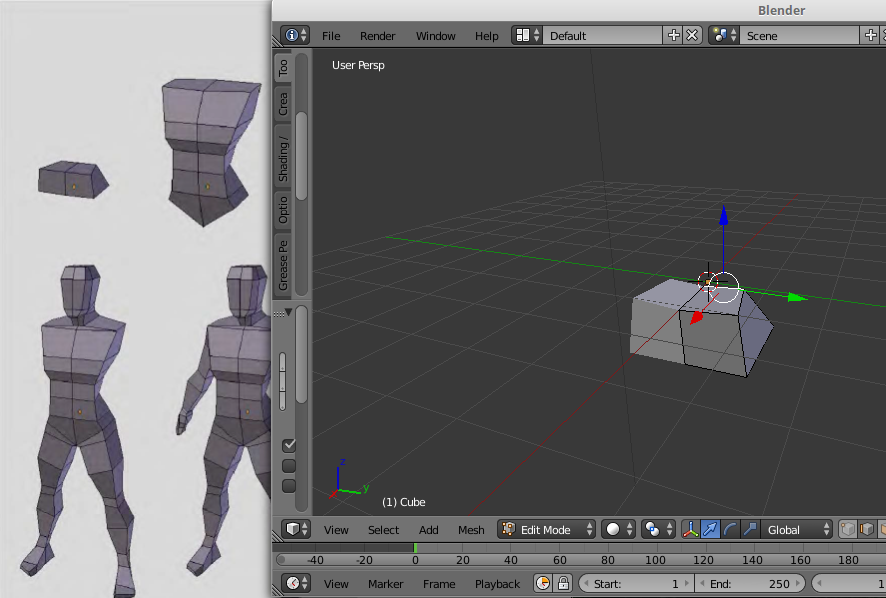
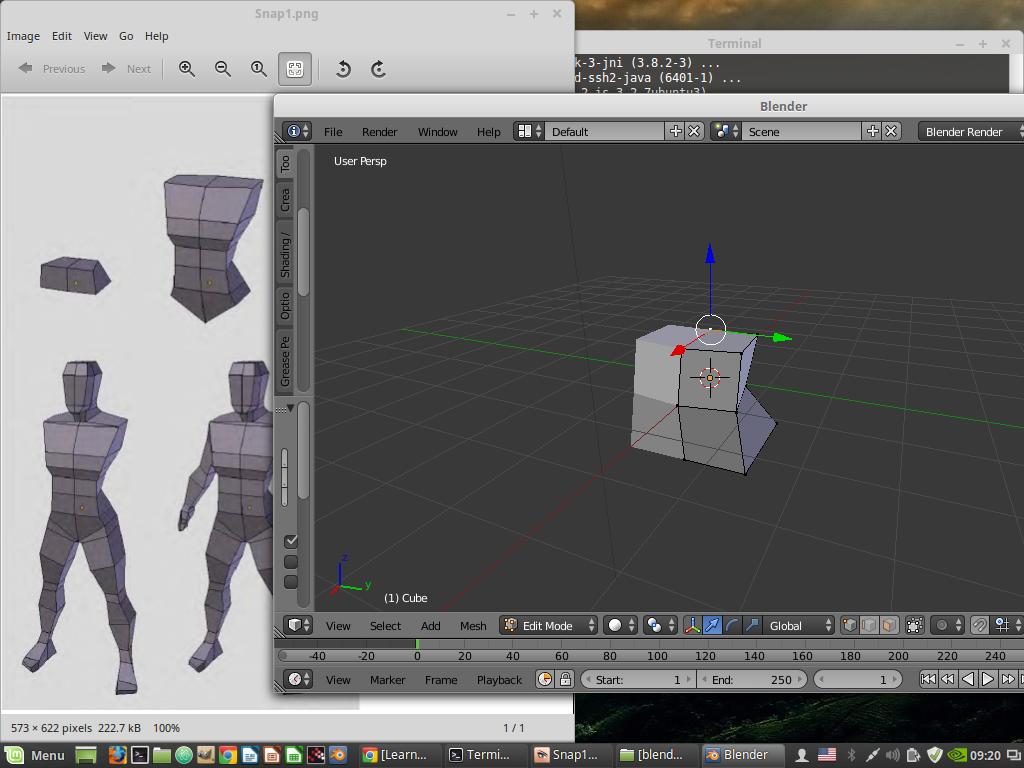
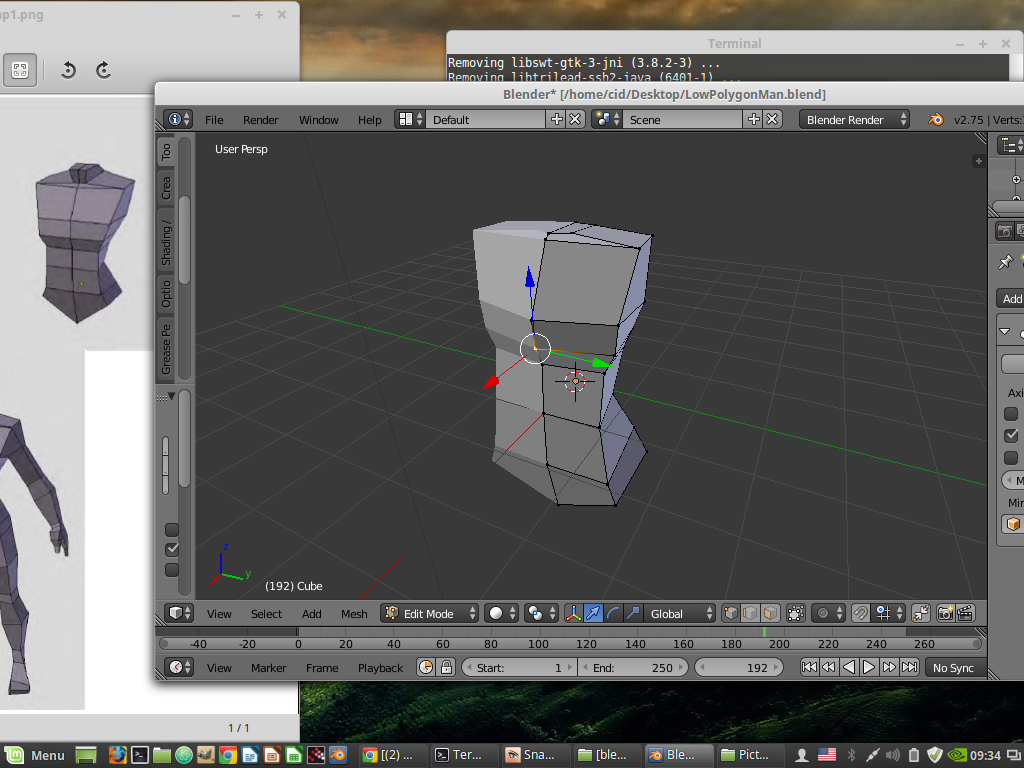
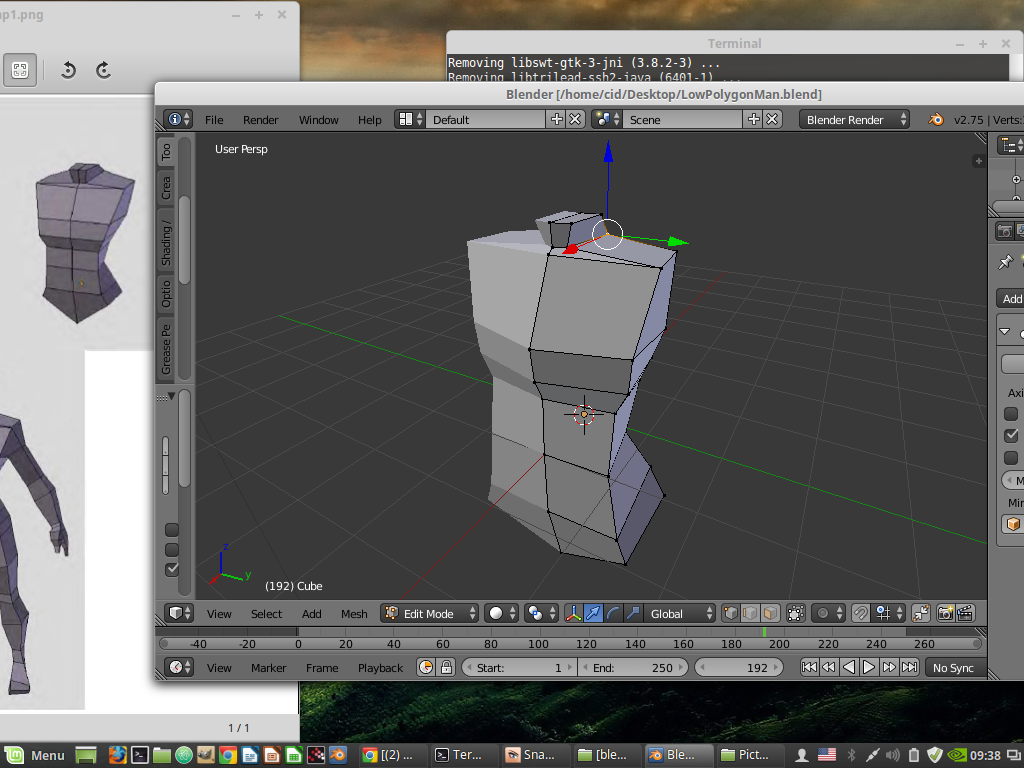
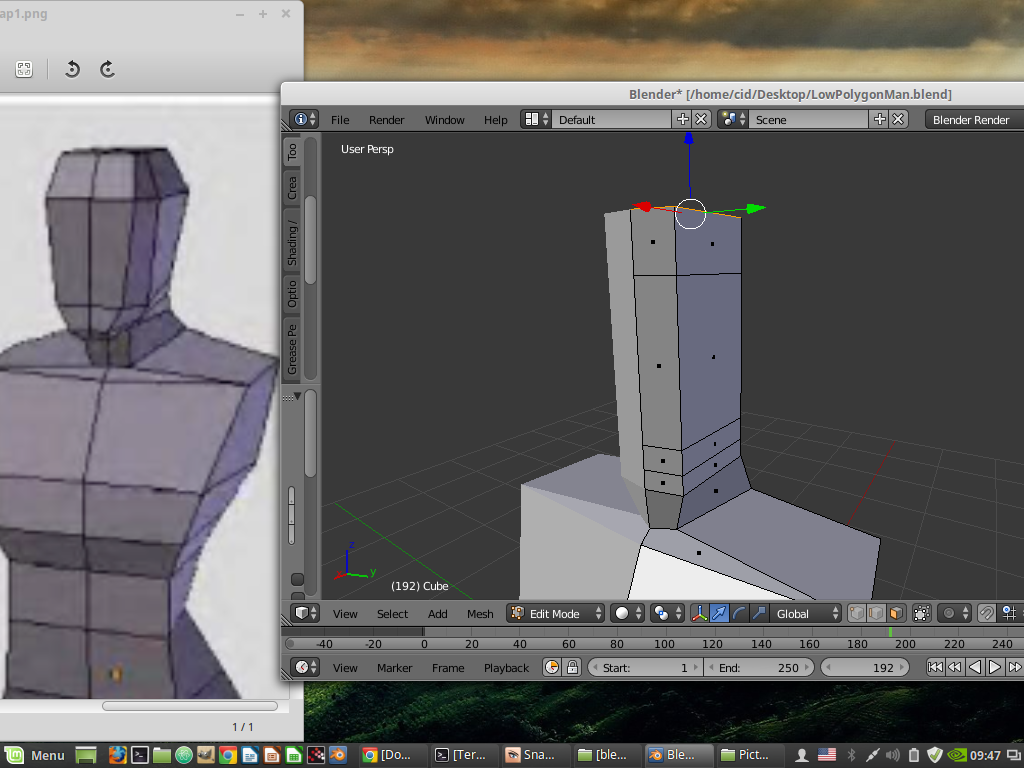
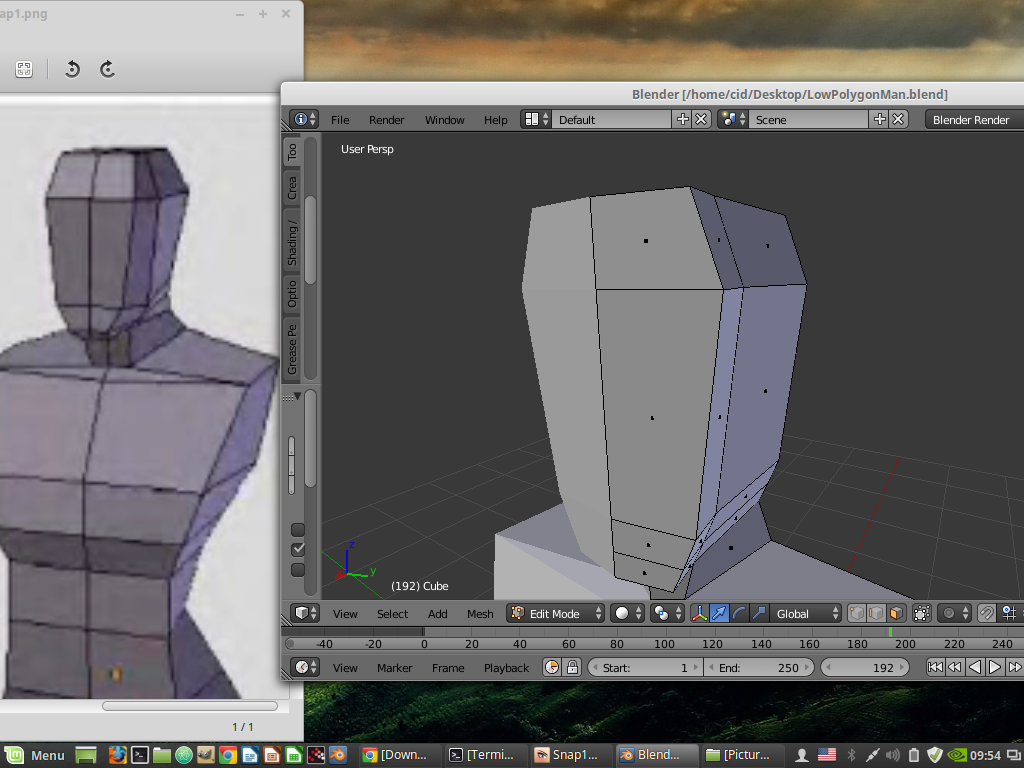
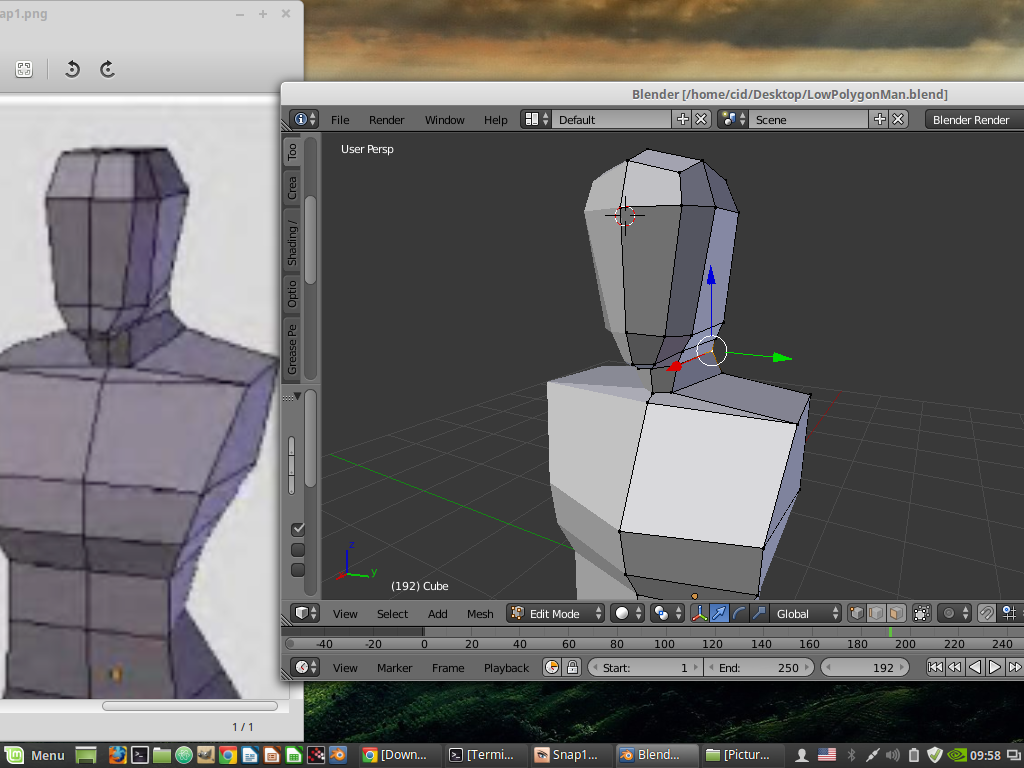
This article is a record of the process of forming a low polygon with Blender, a free distribution software, and revealing the code. It is currently version 2.93.6 LTS, starting from the box and cutting off the left side. After that, use a Mirror Modifier to make the left and right sides the same. Making adjustments to only the right side, causing the left side to affect as well. After that, arrange the shape as shown in Figure 1.
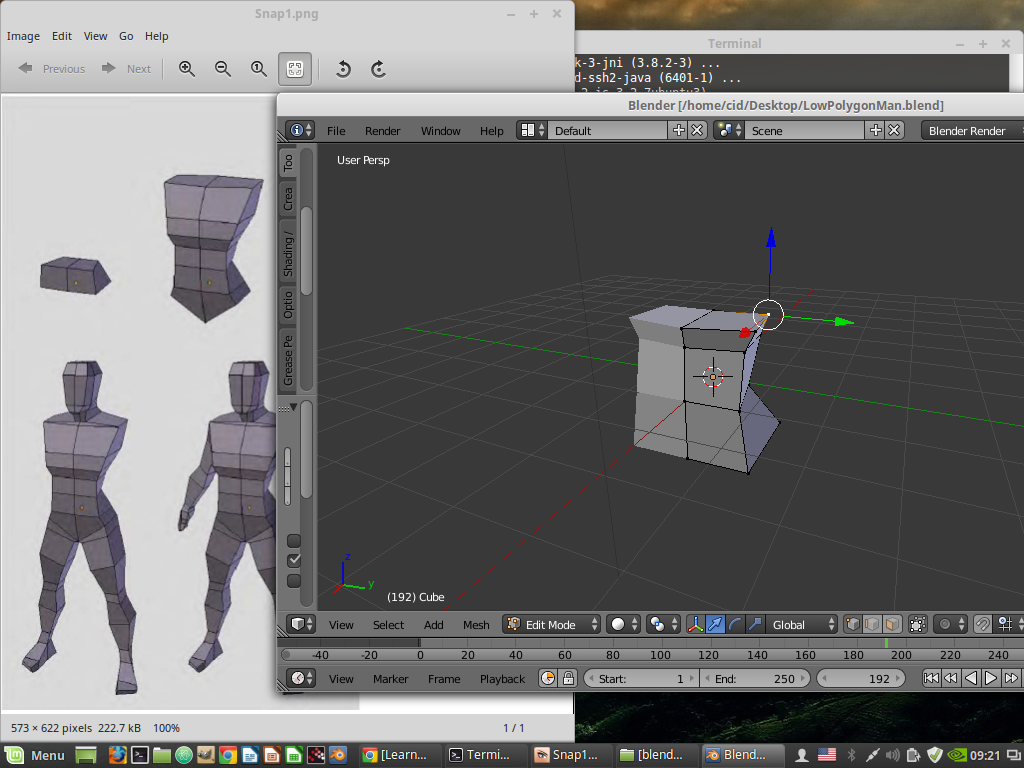
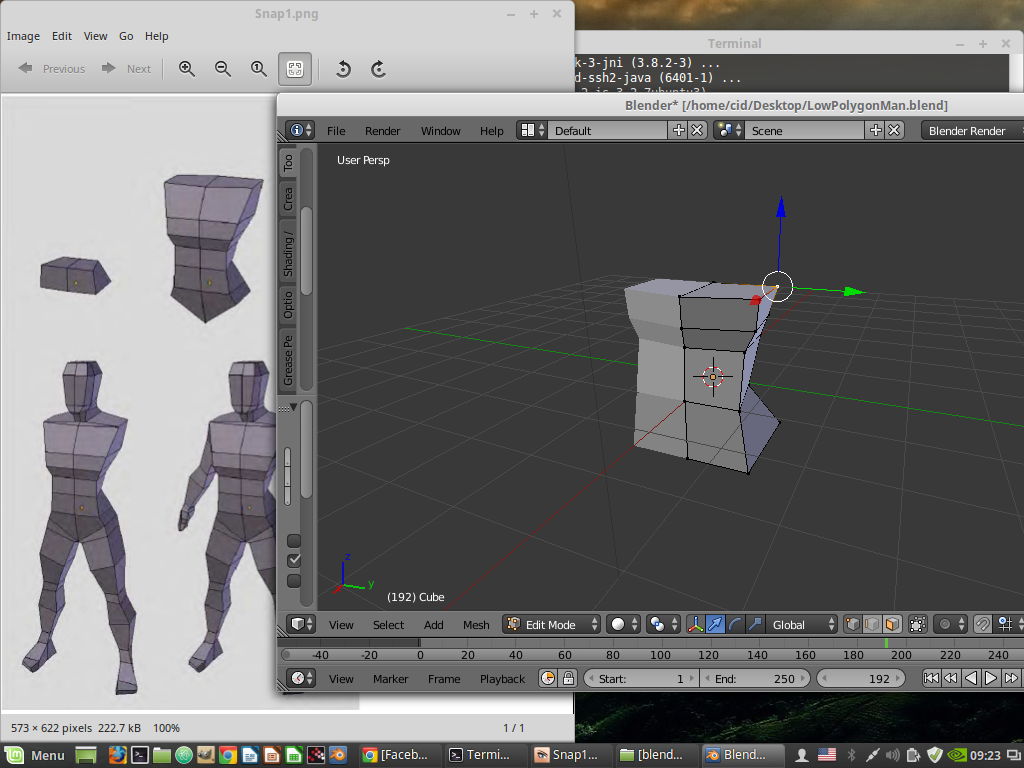
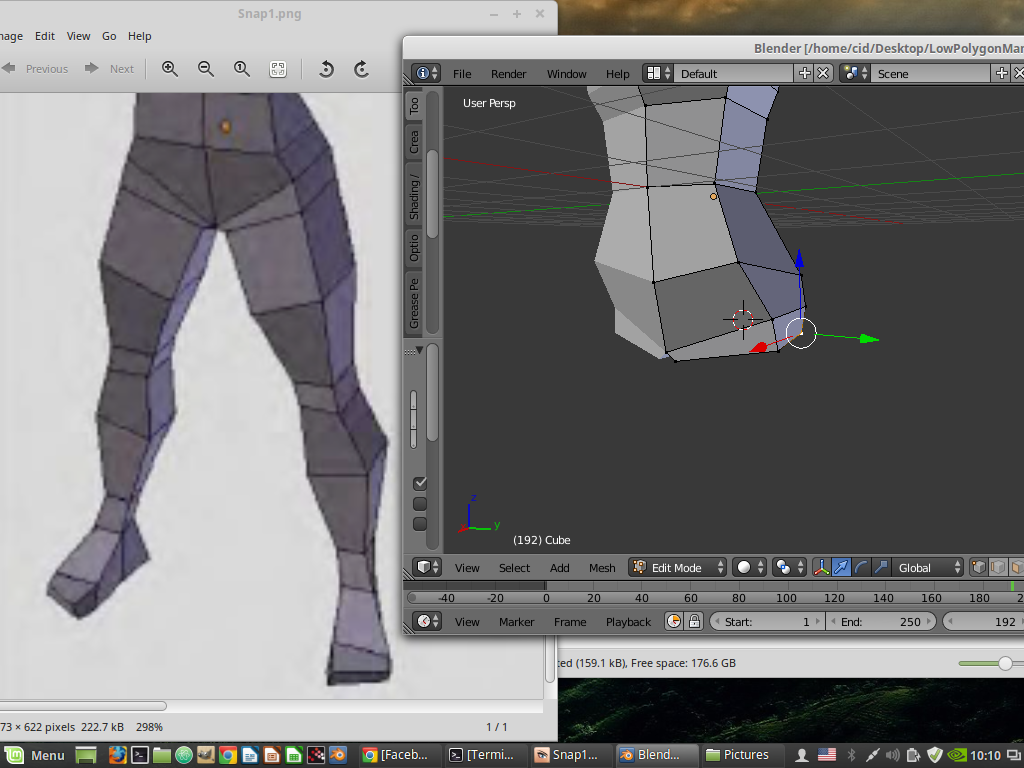
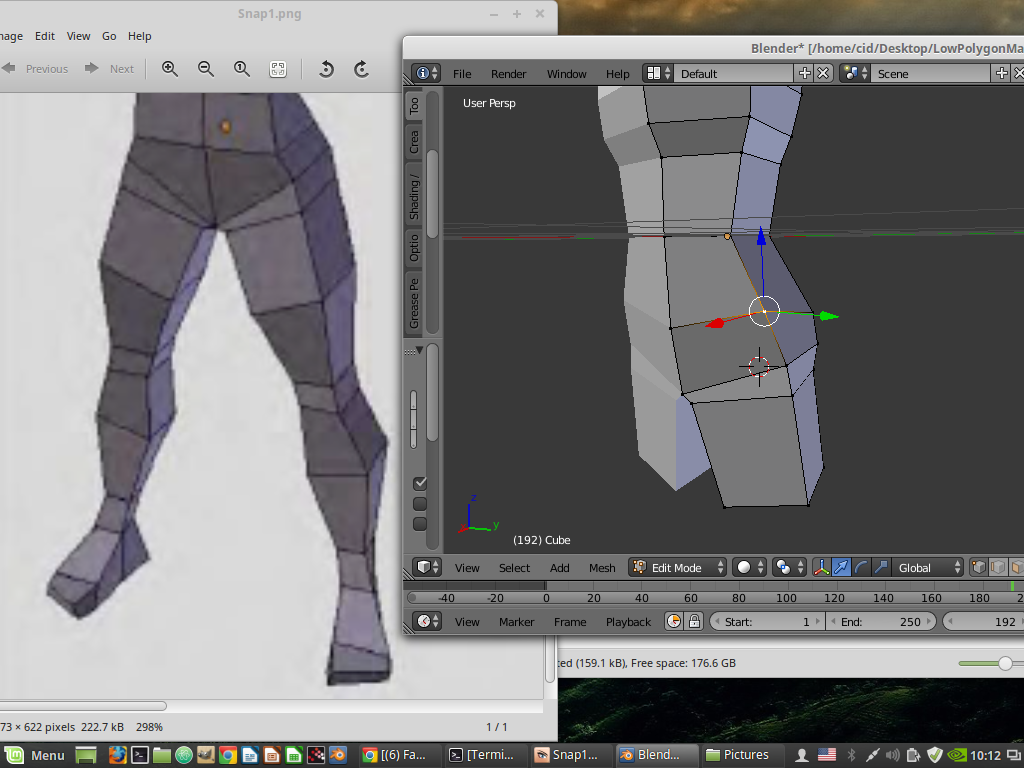
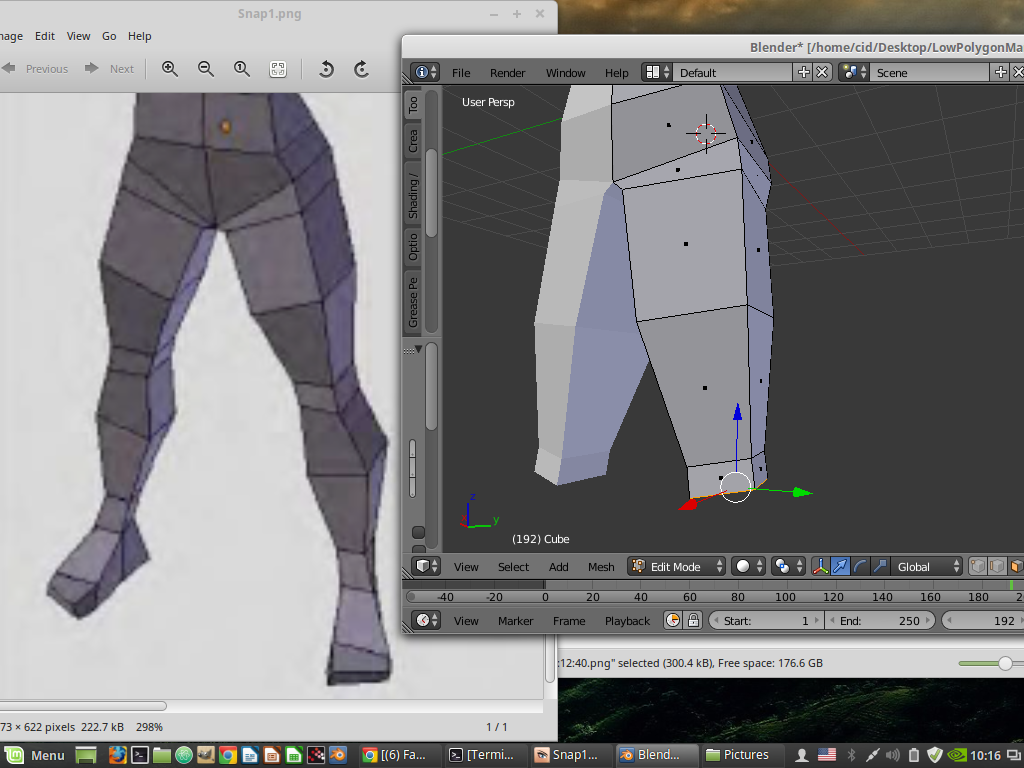
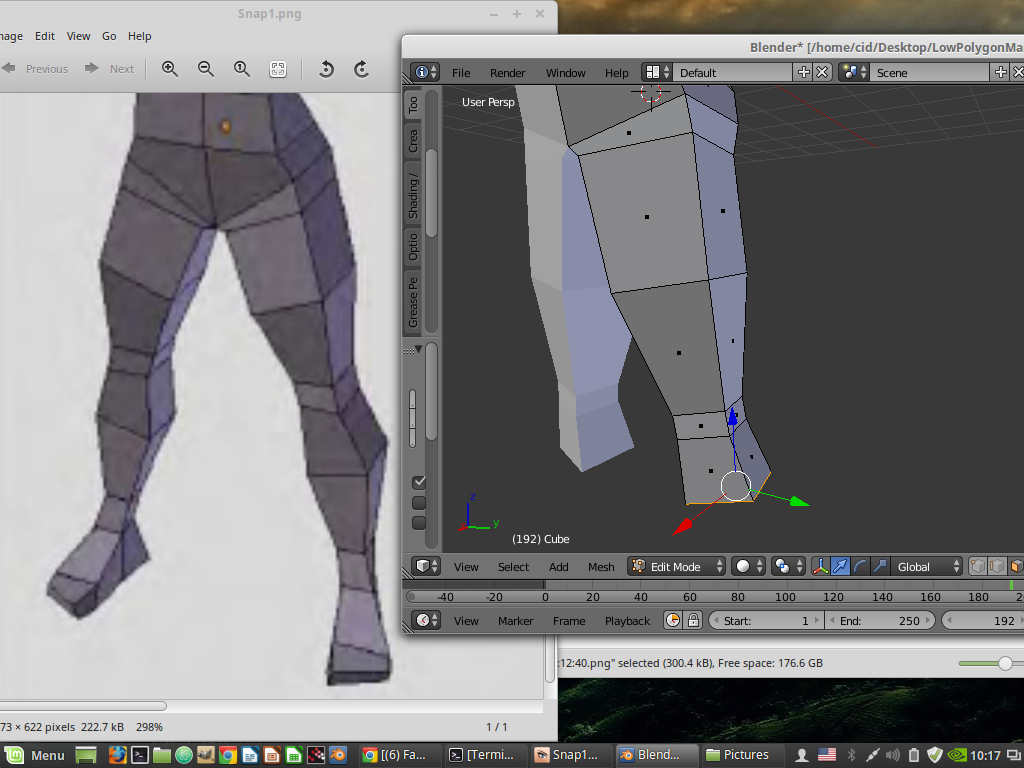
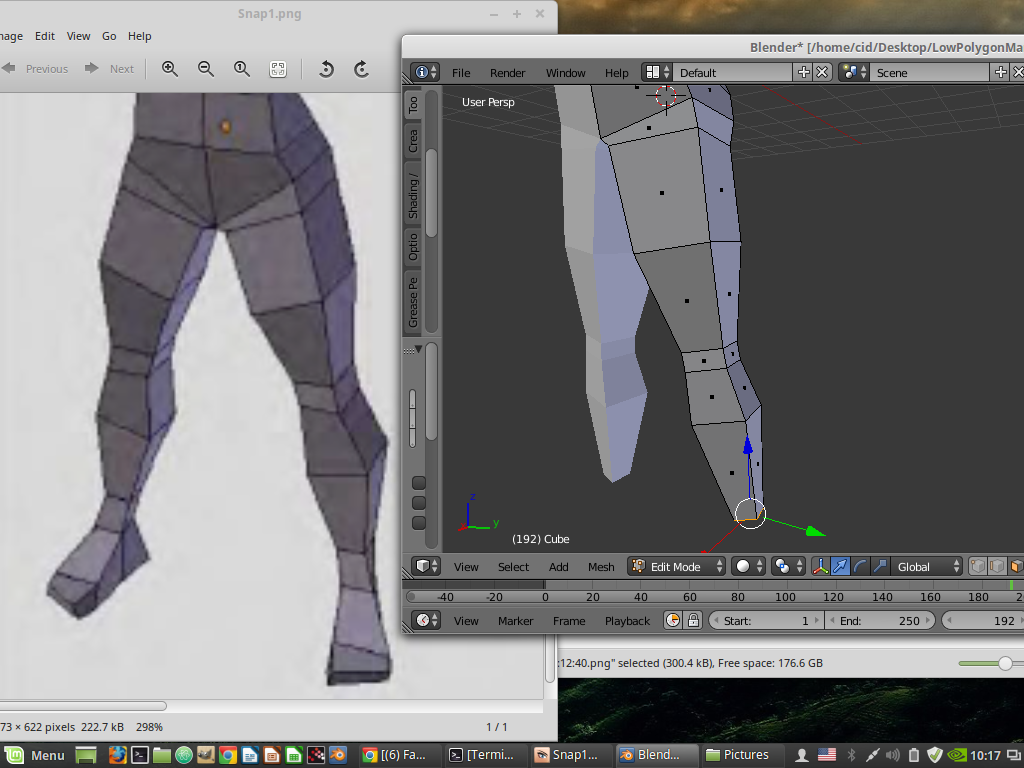
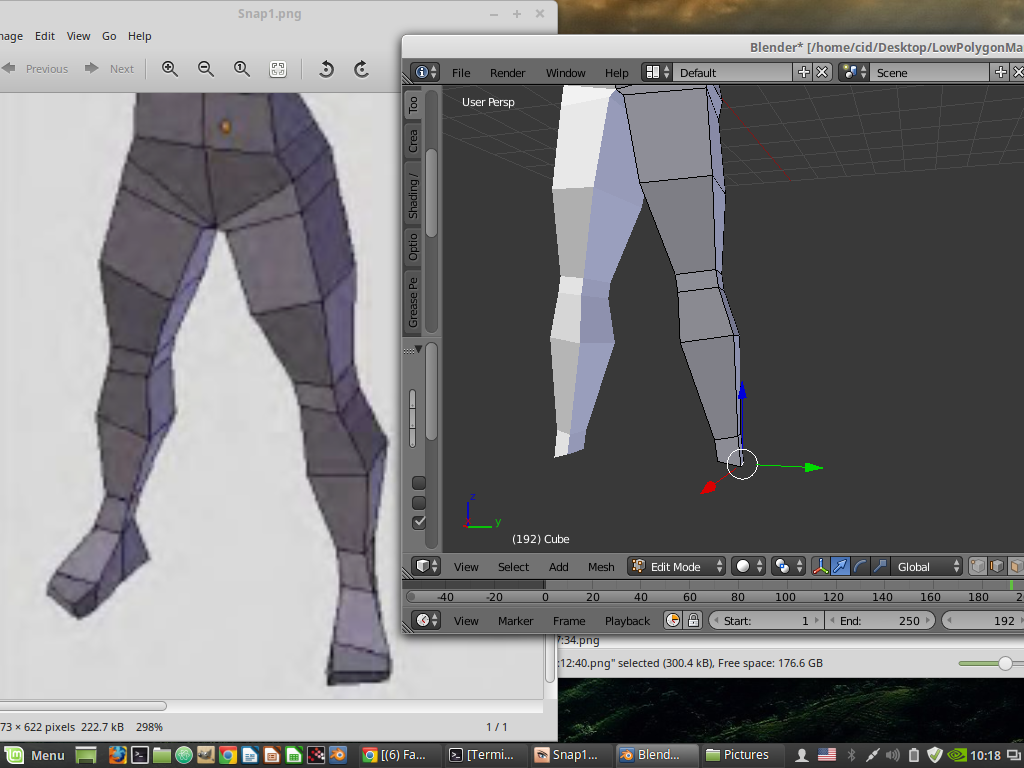
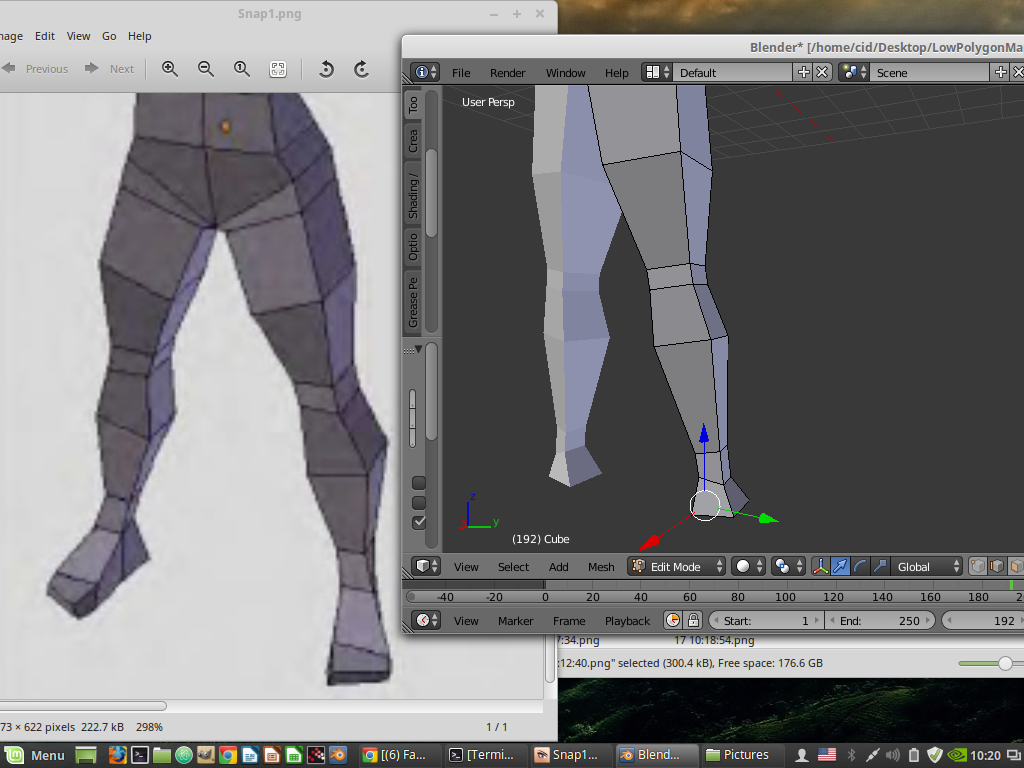
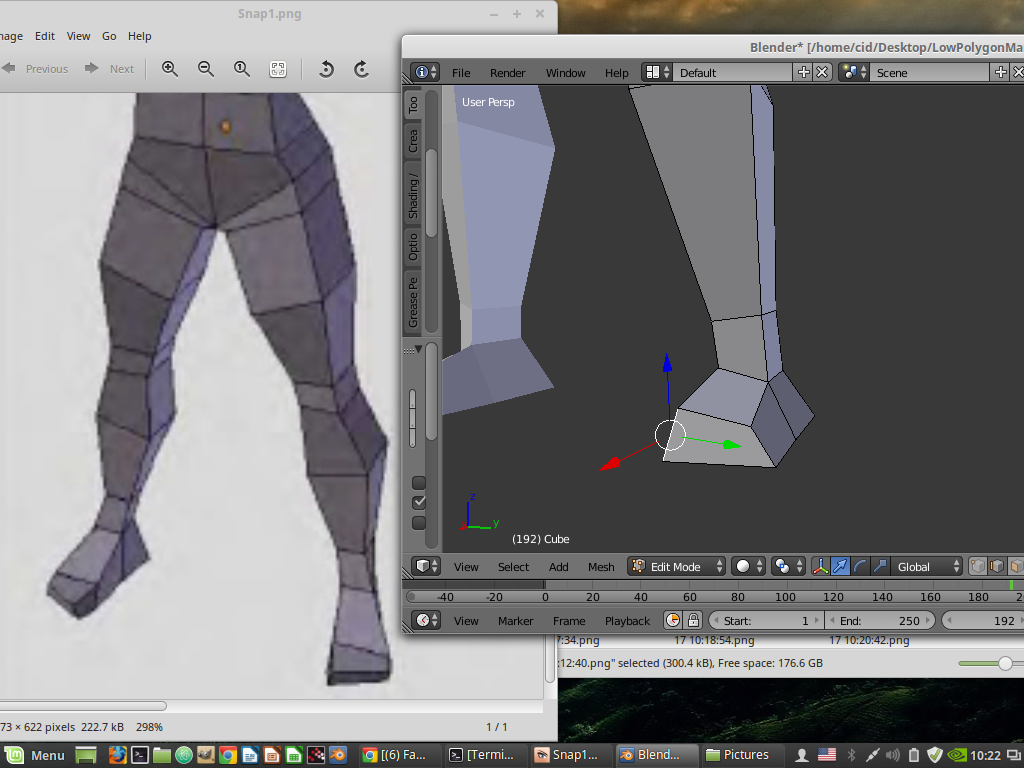
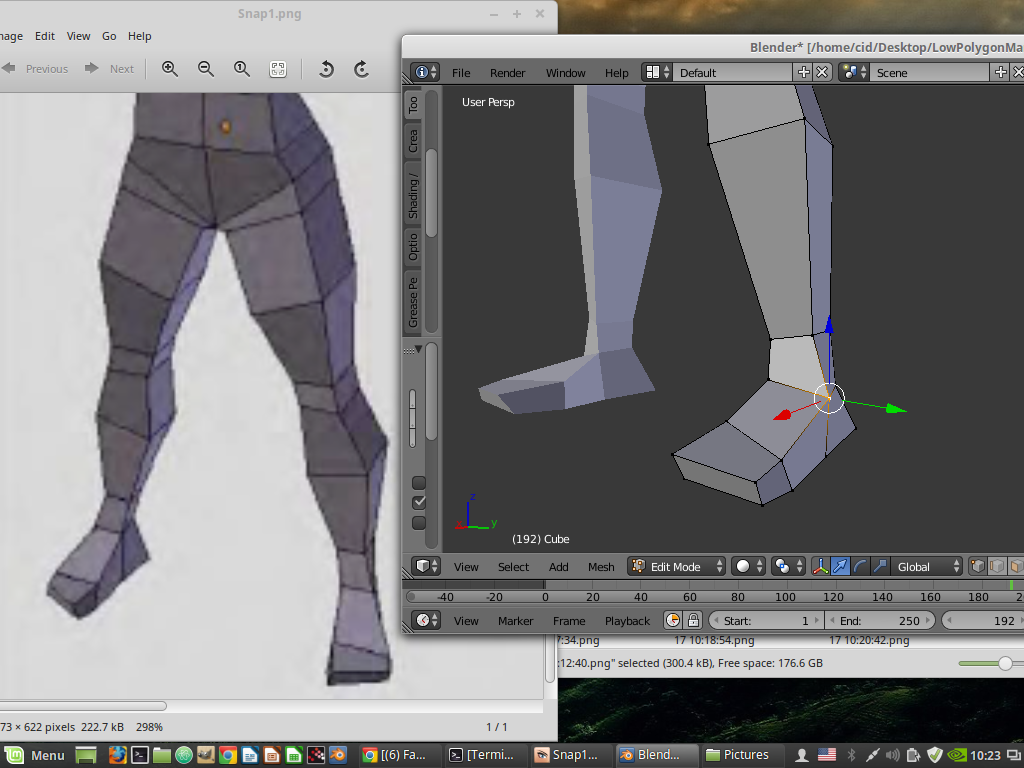
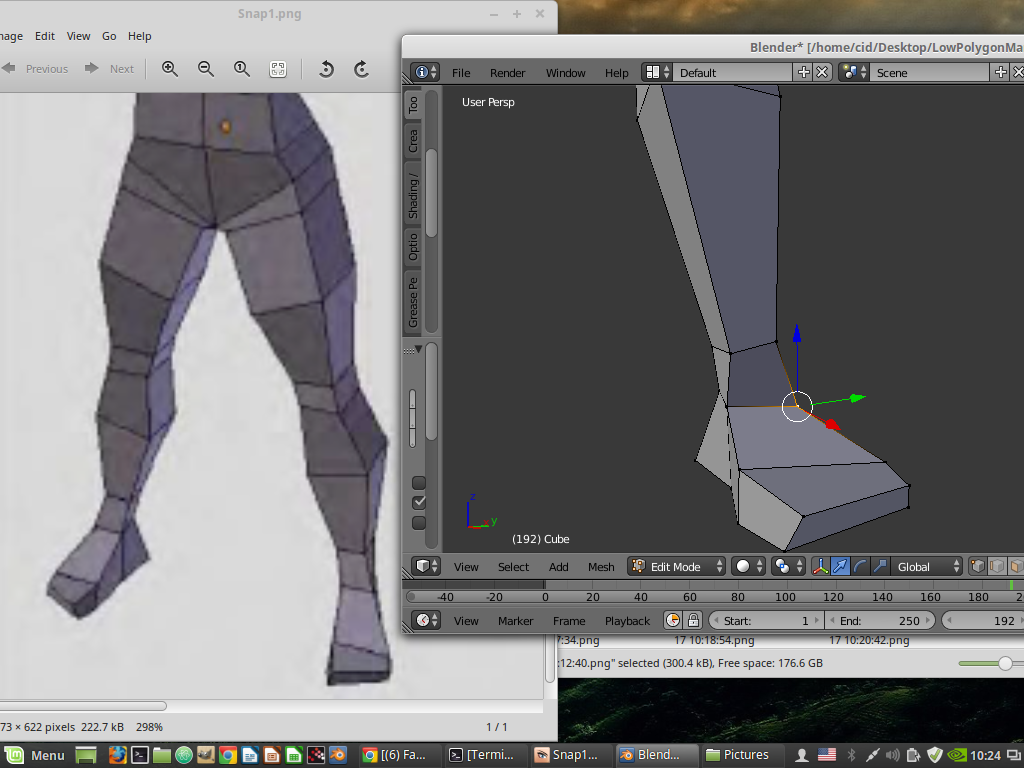
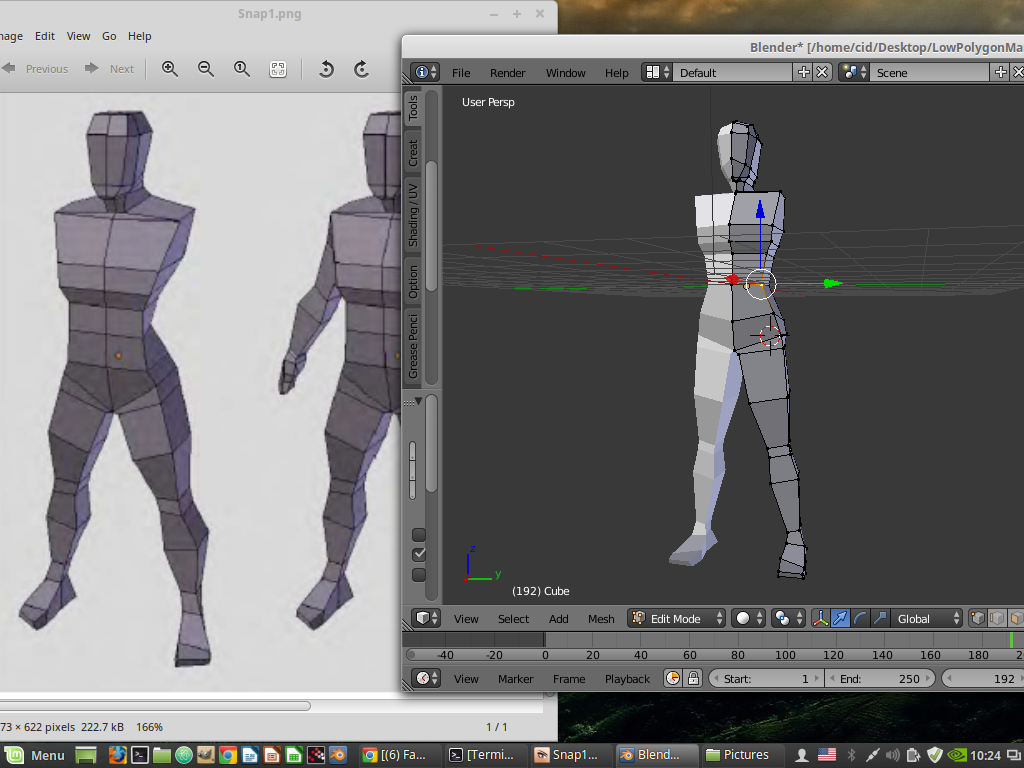
Figure 1 Forming from the bodyFigure 2 Extrude, drawn to the bodyFigure 3 Pull up to be under chestFigure 4 Pull up to be a chestFigure 5 Pull it up to the bust to shoulder and shape it nicely.Figure 6 From above, Extrude and Enter to avoid being raised, but move Edge as shown in the figure to use as part of the neckFigure 7 pull the neck upFigure 8 Perform 4 more pulls from the neck to use as the head.Figure 9 Shape the headFigure 10 Extrude the front to be a part of the face.Figure 11 Shape the shape of the head and face.Figure 12 Below, pull down to form thighsFigure 13 Pull down to form the upper leg.Figure 14 Pull it down to form before the knee and shape it accordingly.Figure 15 Pull down to be the kneeFigure 16 Pull down into the calf partFigure 17 Pull down to form part of the shin to the ankle.Figure 18 Pull down to be the ankle partFigure 19 Pull down to form part of the heelFigure 20 Pull the front of the heel section to form the section 1 palmFigure 21 Pulled out to form a toe and arrange the proportions to look like feetFigure 22 Keep the details of the feet appropriatelyFigure 23 Now only the arm portion remains
From Figure 23, try to continue for the arms and hands, next time it will be a skeleton.
Conclusion
The most used command in this article is Extrude, changing the selection to Vertex/Edge/Polygon, relocation, and rotating/zooming the display so that you can easily go in and adjust the different parts. However, modeling is a skill that takes practice, try to get in.
(C) 2020-2022, By Jarut Busarathid and Danai Jedsadathitikul Updated 2022-01-26