[EN] Arduino: Control robot’s movement via browser with esp8266 Part 2

Based on the previous article that uses a single esp8266 for controlling the Agent, the number of pins that the esp8266 microcontroller (as written in the MicroPython article about machine.Pin) is limited. Many of the pins are used at boot up causing unintended errors such as the wheel spinning when the system starts and stops when the system finishes booting, etc. Therefore, in this article, a microcontroller board LGT8F328P is added as shown in Figure 1, or the reader may change to other Arduino family microcontrollers, such as Arduino Nano or Arduino Uno, etc. by giving that LGT8F328P is part of the Actuator that acts as a movement in the environment. It can be commanded to go forward, backward, turn left, turn right and stop, reducing the workload of the esp8266 and making it more responsive to WiFi communication.

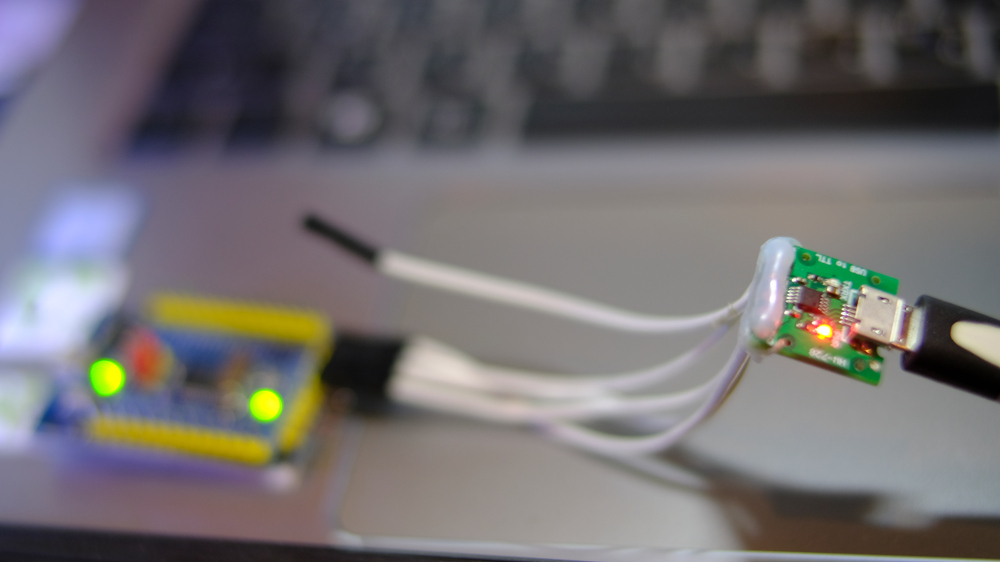
Figure 1 LGT8F328P is integrated into a robotic car system to control the movement

[EN] Arduino: SoftwareSerial with STM32F030F4

From the article recommending the use of the board STM32F030F4P6 that uses serial communication with the use of additional libraries that do not have enough memory. So we try to use SoftwareSerial of Arduino framework and use pins PA10 and PA9 to connect to RX and TX of USB-RS232 Converter Module as shown in Figure 1 and try to use it according to the settings of Arduino IDE as shown in Figure 2 and order toggle LED connected to pin PA4 found that when compiling the sample program is used, the ROM and RAM usage are 80% and 21% respectively as reported by the Arduino IDE as follows.

Sketch uses 13188 bytes (80%) of program storage space. Maximum is 16384 bytes.
Global variables use 876 bytes (21%) of dynamic memory, leaving 3220 bytes for local variables. Maximum is 4096 bytes.
Figure 1 STM32F030F4P6 with CH340E module

[TH] PIC18F458 Ep.6 ADC

บทความนี้เป็นการใช้งาน GPIO ของไมโครคอนโทรลเลอร์ PIC18F458 ที่เชื่อมต่อกับโมดูล ADC หรือโมดูลแปลงสัญญาณแอนาล็อกให้เป็นสัญญาณดิจิทัลเพื่อใช้ในการอ่านค่าระดับแรงดันที่อยู่ในช่วง 0 ถึง 5V จากขานำเข้าสัญญาณ ทำให้ผู้ออกแบบระบบสามารถพิจารณารายละเอียดของแรงดันจากวงจร เช่น จากตัวต้านทานเปลี่ยนแปลงค่าได้ ตัวต้านทานเปลี่ยนแปลงค่าตามค่าความสว่าง หรือไมโครโฟน เป็นต้น เพื่อนำค่าเหล่านี้ไปประมวลผล หรือเข้าสู่เงื่อนไขการทำงานต่อไป เช่น การอ่านค่าแรงดันเพื่อรายงานผลว่าเป็นแรงดันในระดับ Lo, Hi หรือไม่เสถียร เป็นต้น โดยบนบอร์ดทดลองประจำวิชาสถาปัตยกรรมคอมพิวเตอร์มีวงจรของตัวต้านทานปรับค่าได้อยู่ 4 ชุดดังภาพที่ 1 ทำให้สามารถศึกษาการเขียนโปรแกรมเพื่อใช้งานโมดูล ADC ได้และสามารถนำไปประยุกต์ใช้ต่อไป

ภาพที่ 1 โมดูลตัวต้านทานปรับค่าได้บนบอร์ดทดลอง

[EN] Arduino: Control the movement of the robot car through the browser with the esp8266.

From the article Controlling a Servo 2-Wheel Robot in the ESP8266+RoboServo and the DC electric motor in VisionRobo Car: Drive Motor, we have taken the 2nd built-in robot car from the Raspberry Pi to the ESP8266 to operate via WiFi using the guidelines from the ESP-01s+Relay article. Let’s rewrite Arduino’s C/C++ with the WebServer class from the ESP8266 article to MicroPython. Thus, by the end of this article, the robot can be operated in the first example by connecting a phone or communication device. Go to 192.168.4.1 and order it to go forward, backward, turn left, turn right, or stop.

Figure 1 The robot in this article

[TH] PIC18F458 Ep.5 GPIO and 7-Segments

บทความนี้เป็นการประยุกต์ใช้ GPIO ของ PIC18F458 เพื่อสั่งงานวงจรของแอลอีดี 8 หลอดที่จัดเรียงตำแหน่งกันเป็นเหมือนตัวเลขดังภาพที่ 1 โดยใช้หลอด LED จำนวน 8 หลอดมาจัดวางใหม่และเรียกว่า 7-Segment ที่สามารถนำไปประยุกต์แสดงผลตัวเลข และตัวอักษรได้อีกจำนวนหนึ่ง นอกจากนี้ บนตัวบอร์ดทดลองได้ติดตั้ง 7-Segment เอาไว้จำนวน 4 หลัก ทำให้สามารถเขียนโปรแกรมเพื่อควบคุมการแสดงผลข้อมูล 4 หลัก

ภาพที่ 1 ภาคแสดงผลด้วย 7-Segment บนบอร์ดทดลอง

[EN] Generate temperature and humidity graphs with data from Singly Linked List.

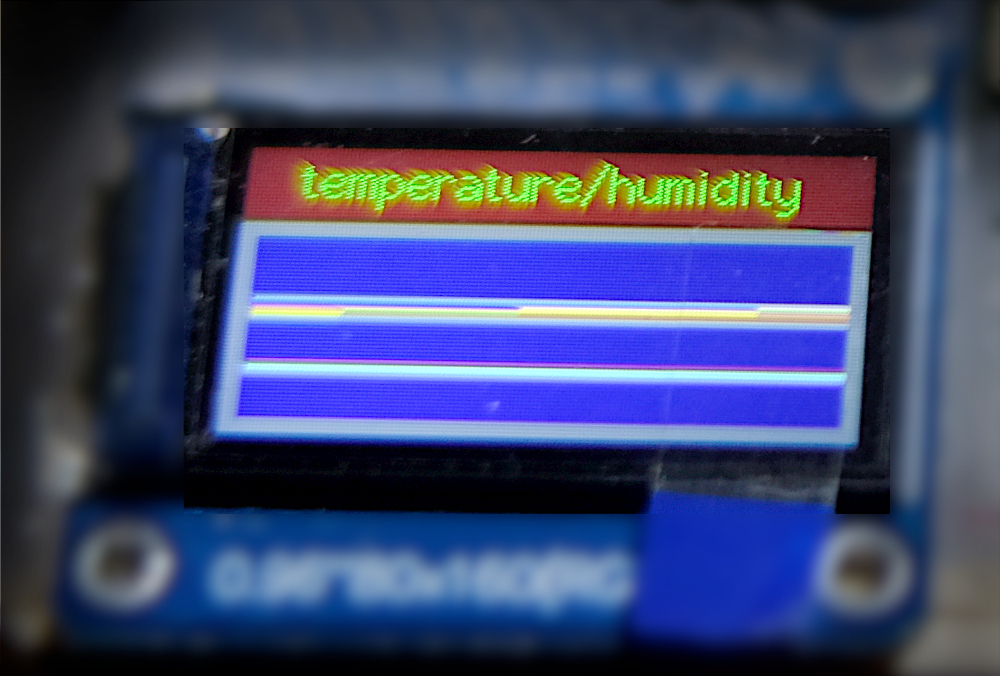
From the article Singly Linked List Data Structures, the use of the DHT11 sensor module with the STM32F103 microcontroller, and the use of the TFT display module based on the st7735s controller, the idea of this article is to take an example of using a singly linked list data structure to collect the temperature and humidity values to find the maximum, minimum, average, together with the data in the list to display in the form of a graph as shown in Figure 1.

Figure 1 Result of the article

[EN] Singly Linked List

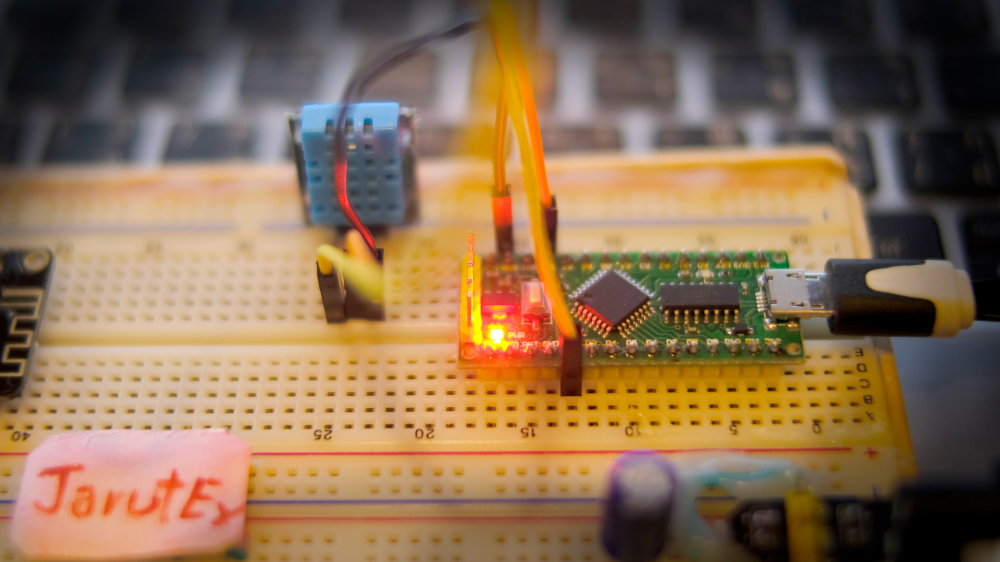
This article is about programming C/C++ with Arduino Nano, Arduino Uno, LGT8F328P or other boards with C-capable platforms. A pointer is used to point to a memory address and memory management methods, including memory reservation memory access and deactivating the use of memory to create a method for storing data in a Single Linked List along with an example program used to store a list of temperature and humidity values ​​from the DHT11 module as shown in Figure 1.

Figure 1 Microcontroller with LGT8F328P and DHT11 module

[EN] Arduino: STM32F103CBT6 ADC&LDR.

From reading articles on how to use board STM32L432 ADC and articles about STM32F103x connecting to ST7735S, it’s time to take STM32F103CBT6 or Blue-Pill/Black-Pill board. Let’s write a program to use ADC to display on a TFT screen. The example of the result of this article is as shown in Figure 1, which is reading from Pin PA0 that has been connected to Pin Analog signal from Board LDR in Figure 2 to Displayed on a TFT display.

Figure 1 Our board’s operation

[TH] PIC18F458 Ep.4 GPIO

หลังจากที่ได้สร้างโครงงานและโค้ดโปรแกรมเบื้องต้นจากบทความการใช้ MPLAB X IDE ไปก่อนหน้านี้ บทความนี้เป็นการใช้งานไมโครคอนโทรลเลอร์เพื่อใช้เป็นหน่วยนำออกสัญญาณหรือการ Output และนำเข้าสัญญาณหรือ Input ผ่านทางพอร์ตของ PIC18F458 ทั้งพอร์ต A, B, C และ D ผ่านทางวงจร LED และ Switch

ภาพที่ 1 บอร์ดทดลองแล็บสถาปัตยกรรมกับการทดลองใช้งาน GPIO