[TH] Queue data structure with array and Singly Linked List.

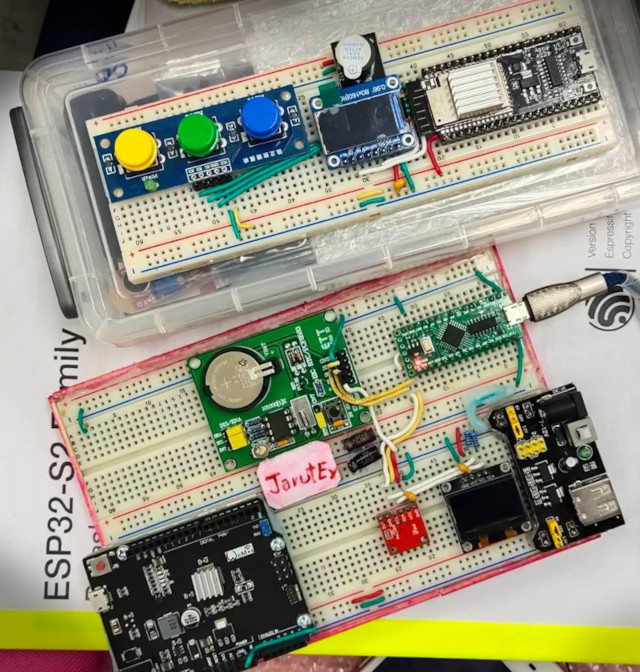
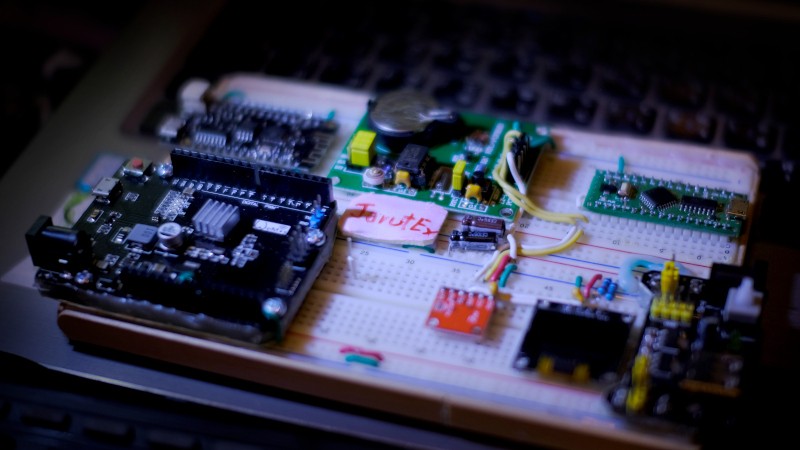
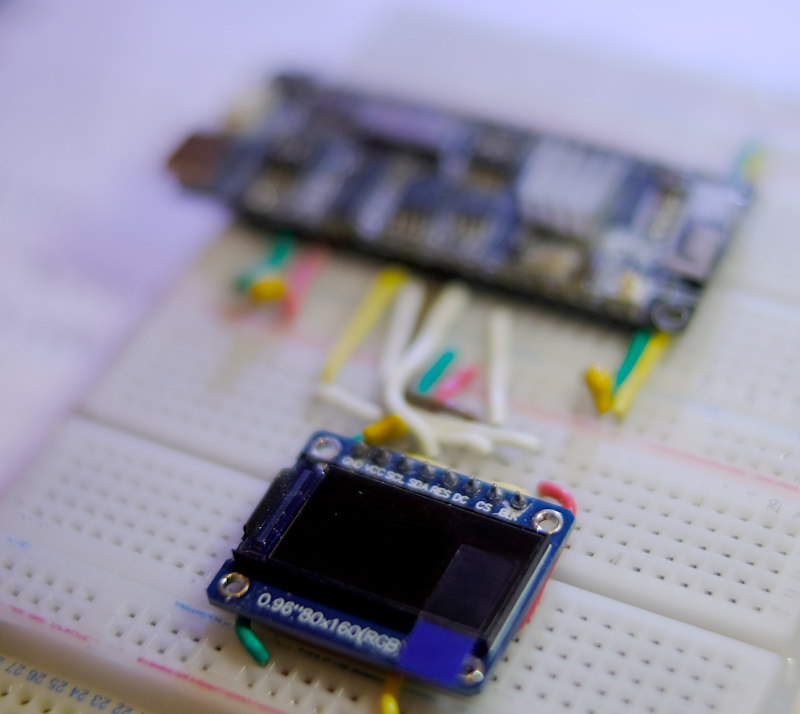
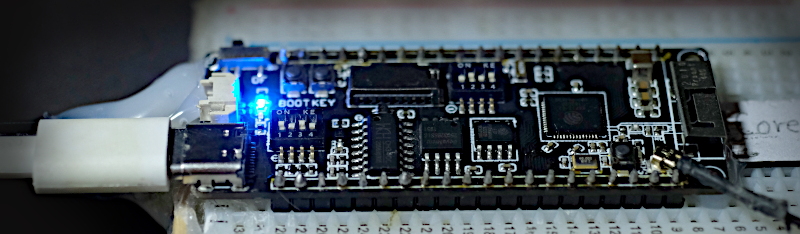
บทความนี้เป็นการอธิบายเกี่ยวกับโครงสร้างข้อมูลแบบคิว (Queue) ซึ่งได้เคยเขียนถึงไปในบทความ Queue Data Structure ที่เป็นภาษาไพธอนและถูกนำไปใช้บ่อยกับตัวอย่างของ MicroPython แต่บทความนี้เป็นภาษา C ที่เขียนผ่าน Arduino IDE เพื่อใช้งานกับบอร์ดไมโครคอนโทรลเลอร์ LGT8F328P, SAM-D21, ESP8266, ESP32 และ ESP32-S2 ดังภาพที่ 1 โดยยกตัวอย่างการนำโครงสร้างแถวลำดับ และลิงค์ลิสต์เดี่ยวมาเป็นโครงสร้างข้อมูลแบบคิว และคงเป็นบทความสุดท้ายบน JarutEx แล้วครับ

ภาพที่ 1 บอร์ดไมโครคอนโทรลเลอร์ ESP32-S2, LGY8P326P และ SAM-D21

[EN] List the serial ports connected to the RPi with pySerial.

This article discusses the use of Python language pySerial library on Raspberry Pi or RPi both 3rd and 4th generation to connect to the serial port. It can be done in 2 ways, the first is to use hardware like ET-CONV10/RS232 HAT that has been written in the book and with the use of a USB port connected to a converter to be a serial communication port (USB to Serial Port) as shown in Figure 1. This article uses the second method to run pySerial to check how many serial ports are connected and what are their names as an example in Figure 8.

Figure 1 Connect ET-USB/RS232 Mini to RPi’s USB

[TH] Stack data structure with Singly Linked List.

บทความนี้เป็นการอธิบายเกี่ยวกับโครงสร้างข้อมูลแบบสแต็ก (Stack) เพื่อเขียนโปรแกรมด้วยภาษา C บนแพล็ตฟอร์มต่าง ๆ โดยใช้โครงสร้างข้อมูลแบบลิงค์ลิสต์เดี่ยวเป็นที่เก็บข้อมูลของสแต็กพร้อมตัวอย่างการแถวลำดับเป็นที่เก็บข้อมูล และทดสอบการทำงานกับบอร์ดไมโครคอนโทรลเลอร์ LGT8F328P, SAM-D21, ESP8266, ESP32 และ ESP32-S2 ดังภาพที่ 1 และ 2 ส่วนกรณีที่ต้องการไปใช้กับแพล็ตฟอร์มอื่น ๆ ยังคงสามารถดัดแปลงโค้ดเพื่อนำไปใช้ได้เช่นเดียวกัน

ภาพที่ 1 บอร์ดไมโครคอนโทรลเลอร์ ESP32, LGY8P326P และ SAM-D21

[TH] Arduino: Using the ST7735s module with an ESP32-S2 via the TFT_eSPI library.

บทความนี้เป็นการใช้โมดูล ST7735s กับไมโครคอนโทรลเลอร์ ESP32-S2 ผ่านไลบรารี TFT_eSPI โดยในก่อนหน้านี้ได้กล่าวถึงการใช้งานกับไมโครคอนโทรลเลอร์ ESP32 และ STM32F103C ไปแล้ว และโมดูล TFT ที่เลือกใช้เป็น REDTAB80x160 (ได้เพิ่มเติมโค้ดสำหรับ GREENTAB80x160 ในตอนท้ายบทความ) แต่สามารถปรับดารตั้งค่าเป็นโมดูลอื่น ๆ ได้ โดยดูรายละเอียดจากไฟล์ User_Setup.h ของไลบรารี TFT_eSPI ดังภาพที่ 1

ภาพที่ 1 โมดูลแสดงผล TFT ขนาด 0.96″ แบบ IPS กับ ESP32-S2

[EN] How to build MicroPython for esp32-C3.

This article discusses the previously recommended compiling (build) and use of MicroPython for esp32-C3 microcontrollers. The procedure is the same as for compiling for esp32-s2. In addition, we have solved the issue of RS232-to-USB from the board using CH340 to external pin using CP2102 instead and connecting the display module with OLED as Figure 1.

Figure 1 ESP32-C3 with OLED and external pins

[EN] How to build MicroPython for esp32-s2.

This article discusses compiling and using MicroPython for an esp32-s2 microcontroller based on the TTGO ESP32-S2 V1.1 or TTGO ESP32-S2-WOOR V1.1 board with a Type-C USB port and supports operation via CH340C and OTG by using a dip switch as shown in Figure 1, enabling MicroPython to be used because the chip program uses the CH340’s circuit programming and Python programming requires a port that works like OTG

TTGO ESP32-S2 V1.1
Figure 1 TTGO ESP32-S2 V1.1

[TH] Arduino: ควบคุมการเคลื่อนที่หุ่นยนต์รถผ่านบราวเซอร์ด้วย esp8266 Part 2

จากบทความก่อนหน้าที่ใช้ esp8266 เพียงตัวเดียวสำหรับการควบคุม Agent ซึ่งจำนวนขาที่ไมโครคอนโทรลเลอร์ esp8266 (ตามที่เขียนไว้ในบทความเกี่ยวกับ machine.Pin ของ MicroPython) มีให้นั้นมีจำกัด และหลายขาถูกใช้งานขณะเริ่มระบบทำให้เกิดความผิดพลาดที่ไม่ได้ตั้งใจ เช่น ล้อหมุนเมื่อระบบเริ่มทำงาน และหยุดเมื่อระบบทำการบูตเสร็จ เป็นต้น ดังนั้น ในบทความนี้จึงเพิ่มบอร์ดไมโครคอนโทรลเลอร์ LGT8F328P เข้ามา ดังภาพที่ 1 หรือผู้อ่านอาจจะเปลี่ยนเป็นไมโครคอนโทรลเลอร์ตระกูล Arduino อื่น ๆ แทนได้ เช่น Arduino Nano หรือ Arduino Uno เป็นต้น โดยให้ LGT8F328P นั้นเป็นส่วนของ Actuator ที่ทำหน้าที่เคลื่อนที่ไปในสิ่งแวดล้อม คือ สามารถสั่งให้เดินหน้า ถอยหลัง เลี้ยวซ้าย เลี้ยวขวา และหยุดได้ ทำให้ลดภาระการทำงานของ esp8266 ลง และให้ทำงานตอบสนองการสื่อสาร WiFi ได้มากขึ้น

ภาพที่ 1 บอร์ด LGT8F328P ที่นำมาประกอบเข้ากับระบบหุ่นยนต์รถเพื่อใช้ควบคุมการเคลื่อนที่

[EN] ESP-IDF Ep.10 : Control the Servo Motor with LEDC.

This article discusses the implementation of a servo motor module using the ESP32’s GPIO that outputs a digital PWM signal or Pulse Width Modulation or an LEDC (LED Control) which enables frequency band generation or adjust the proportion of status 1 and 0 in 1 waveform with a frequency of 50Hz using the experimental board as shown in Figure 1.

(Figure. 1 LEDC connection)

[TH] Arduino: ใช้ SoftwareSerial กับ STM32F030F4

จากบทความแนะนำการใช้บอร์ด STM32F030F4P6 ที่ใช้การสื่อสารพอร์ตอนุกรมด้วยการใช้ไลบรารีเพิ่มเติมซึ่งทำให้ปริมาณหน่วยความจำไม่มากพอสำหรับใช้งาน ทางเราเลยลองเปลี่ยนมาใช้ SoftwareSerial ของเฟรมเวิร์ก Arduino และใช้ขา PA10 และ PA9 ต่อเข้ากับ RX และ TX ของโมดูลแปลง USB-RS232 ดังภาพที่ 1 และทดลองใช้งานตามการตั้งค่าของ Arduino IDE ดังภาพที่ 2 พร้อมทั้งสั่ง Toggle หลอด LED ที่เชื่อมต่อกับขา PA4 พบว่า เมื่อคอมไพล์โปรแกรมตัวอย่างแล้วมีการใช้ ใช้หน่วยความจำ ROM และ RAM เป็น 80% และ 21% ตามลำดับดังการรายงานจาก Arduino IDE ดังต่อไปนี้

Sketch uses 13188 bytes (80%) of program storage space. Maximum is 16384 bytes.
Global variables use 876 bytes (21%) of dynamic memory, leaving 3220 bytes for local variables. Maximum is 4096 bytes.
ภาพที่ 1 บอร์ด STM32F030F4P6 กับโมดูล CH340E

[TH] การใช้ GPS ใน Unity3D

จากบทความ Unity3D ครั้งที่แล้วได้กล่าวถึงฟีเจอร์บางส่วนในโปรแกรม ในบทความนี้จึงขอกล่าวฟีเจอร์หนึ่งที่น่าสนใจ คือการใช้งาน GPS ใน Unity3D โดยเฉพาะผู้เริ่มต้นใหม่ เนื่องจากในโปรแกรมมีการใช้งาน GPS ที่ค่อนข้างง่าย