[EN] Arduino: STM32L432 Nucleo-32’s DAC&ADC.

From reading the article Using STM32 Core Support for Arduino for Board Nucleo L432KC by Ajarn Rewat Siriphokapirom, we have provided the board to test and connect the pin for sending data output DAC to ADC as shown in Figure 1 to test the operation of the DAC and ADC of the board by using the working code like the ESP32 microcontroller board, SAM-D21 and LGT8F328P. Let’s get started.
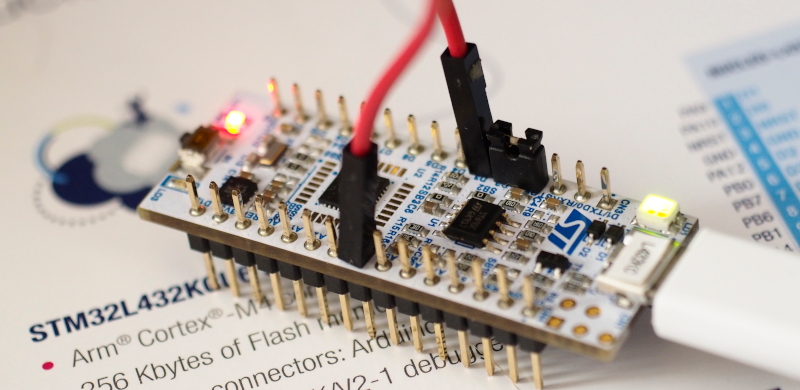
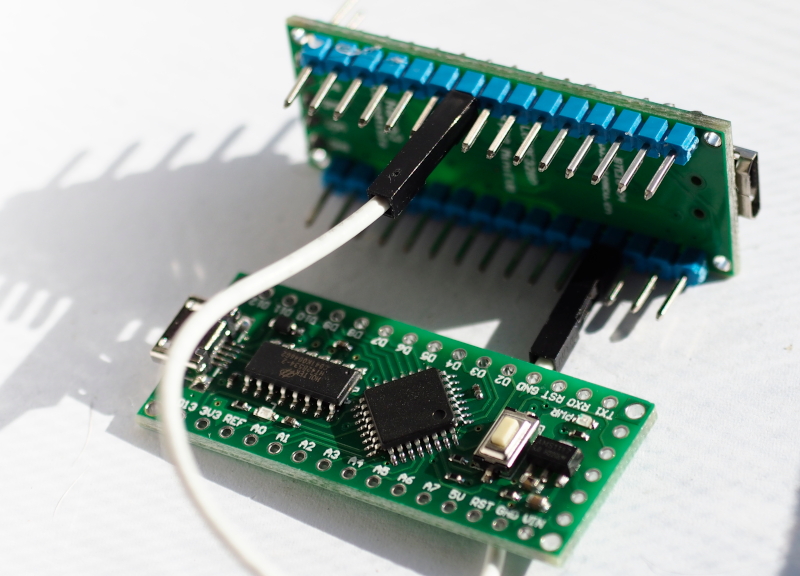
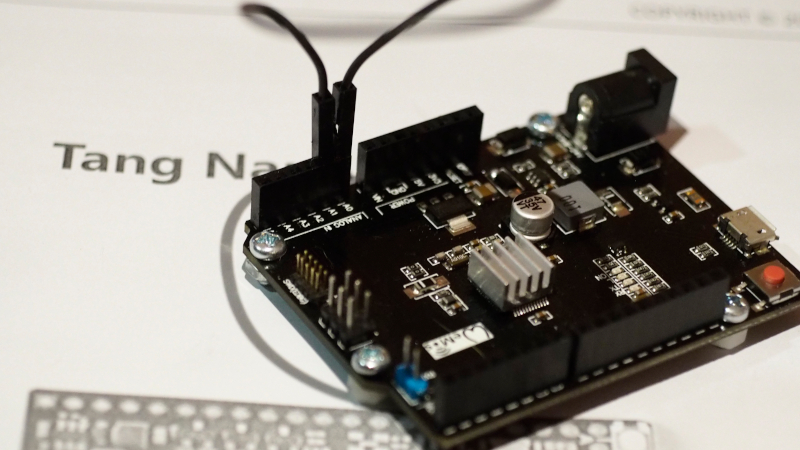
Figure 1 Neucleo L432KC with A3 connected to D3

[EN] Arduino: The LGT8F328P’s ADC/DAC.

This article is a continuation of the previous article introducing the LGT8F328P board and its use of ADC and DAC. By focusing on the use for the chip LGT8F328P, which is different from the SAM-D21 in that it uses pin D4 as a pin that serves as DAC0 and the DAC circuit has a resolution of 8-bit.  The output can be from 0 to 255. The ADC sector uses pins A0, A1, … normally and has a resolution of 12 bits. Therefore, in this article, the connection pins from A0 to D4 are used in the experiment as shown in Figure 1.

Figure 1 LGT8F328P connected A0 to D4

[EN] Arduino ADC/DAC

This article introduces the ESP32 and SAM-D21 microcontroller board to learn how to use ADC (Analog to Digital Converter) and DAC (Digital to Analog Converter) instruction by connecting the DAC pin to ADC as shown in Figures 1 (Connect A0 to A1 of Board SAM-D21 ) and 2 (Connect Pin GPIO26 to GPIO36 of ESP32) to send data to DAC and have ADC read it back. Then send the results out to the serial port for display with the Serial Plotter, which is an example program to send 3 types of data, which is a zigzag graph, triangular graph and waveform graph from the sinusoidal function

Figure 1 SAM-D21 with A0 connected to A1
Figure 2 ESP32 with port 26 connected to port 36

[EN]How to render the Thai string correctly?

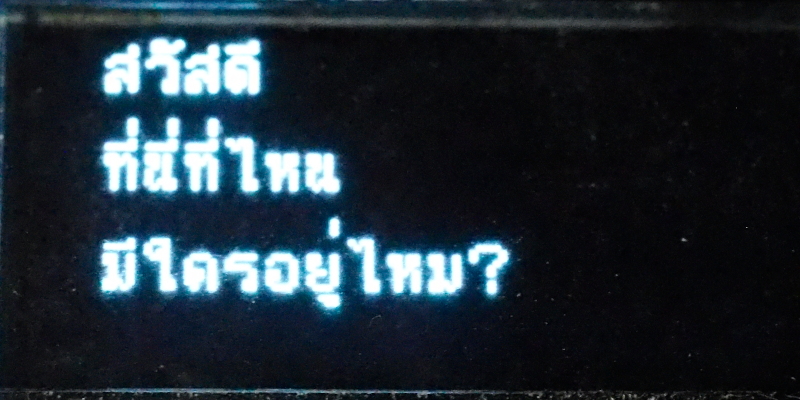
From the article on how to use u8g2 that can render Thai string through the drawUTF8() function of the u8g2 library, the rendering is not correct as shown in Figure 1, therefore, the code of libraries needs additionally adjusted to render correctly as in Figure 2.

Figure 1 drawUTF8() display before adjustment
Figure 2 drawUTF8() after adjustment

[EN] LittleFS Filesystem

The article discusses the use of the LittleFS library and introduces a library developed for use with the esp32 microcontroller, which includes a plugin for the Arduino IDE for uploading files to the microcontroller’s ROM. Make it convenient to load data to store and run. For this reason, if programmers find it difficult to transcode HTML/CSS/JavaScript to be a string manually and switching to uploading files to esp32 and reading the web files directly to use will be something that will require training to use LittleFS as a reliable library.


[TH] Queue data structure with array and Singly Linked List.

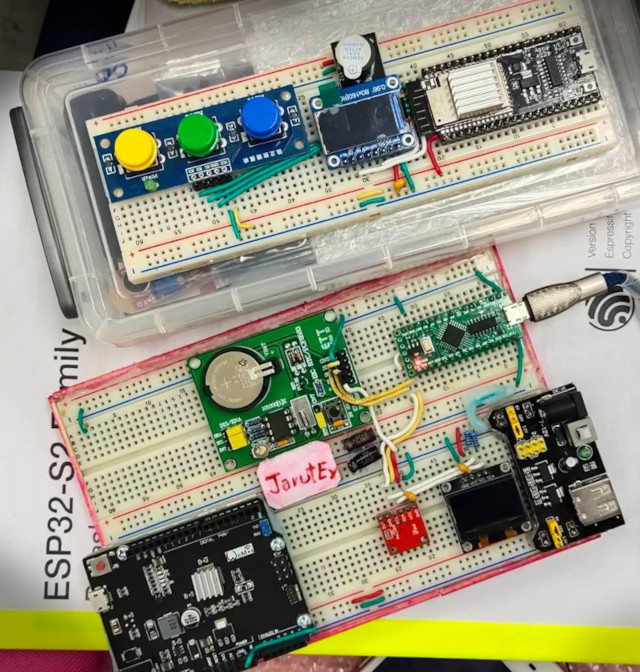
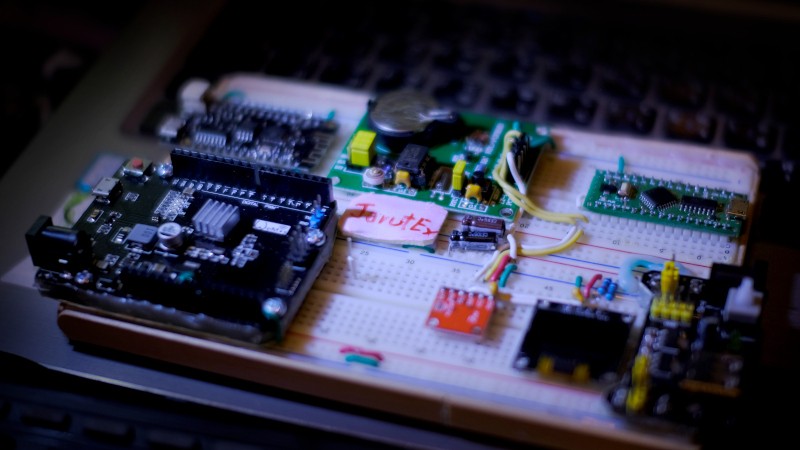
บทความนี้เป็นการอธิบายเกี่ยวกับโครงสร้างข้อมูลแบบคิว (Queue) ซึ่งได้เคยเขียนถึงไปในบทความ Queue Data Structure ที่เป็นภาษาไพธอนและถูกนำไปใช้บ่อยกับตัวอย่างของ MicroPython แต่บทความนี้เป็นภาษา C ที่เขียนผ่าน Arduino IDE เพื่อใช้งานกับบอร์ดไมโครคอนโทรลเลอร์ LGT8F328P, SAM-D21, ESP8266, ESP32 และ ESP32-S2 ดังภาพที่ 1 โดยยกตัวอย่างการนำโครงสร้างแถวลำดับ และลิงค์ลิสต์เดี่ยวมาเป็นโครงสร้างข้อมูลแบบคิว และคงเป็นบทความสุดท้ายบน JarutEx แล้วครับ

ภาพที่ 1 บอร์ดไมโครคอนโทรลเลอร์ ESP32-S2, LGY8P326P และ SAM-D21

[TH] Stack data structure with Singly Linked List.

บทความนี้เป็นการอธิบายเกี่ยวกับโครงสร้างข้อมูลแบบสแต็ก (Stack) เพื่อเขียนโปรแกรมด้วยภาษา C บนแพล็ตฟอร์มต่าง ๆ โดยใช้โครงสร้างข้อมูลแบบลิงค์ลิสต์เดี่ยวเป็นที่เก็บข้อมูลของสแต็กพร้อมตัวอย่างการแถวลำดับเป็นที่เก็บข้อมูล และทดสอบการทำงานกับบอร์ดไมโครคอนโทรลเลอร์ LGT8F328P, SAM-D21, ESP8266, ESP32 และ ESP32-S2 ดังภาพที่ 1 และ 2 ส่วนกรณีที่ต้องการไปใช้กับแพล็ตฟอร์มอื่น ๆ ยังคงสามารถดัดแปลงโค้ดเพื่อนำไปใช้ได้เช่นเดียวกัน

ภาพที่ 1 บอร์ดไมโครคอนโทรลเลอร์ ESP32, LGY8P326P และ SAM-D21

[TH] Arduino: Using the ST7735s module with an ESP32-S2 via the TFT_eSPI library.

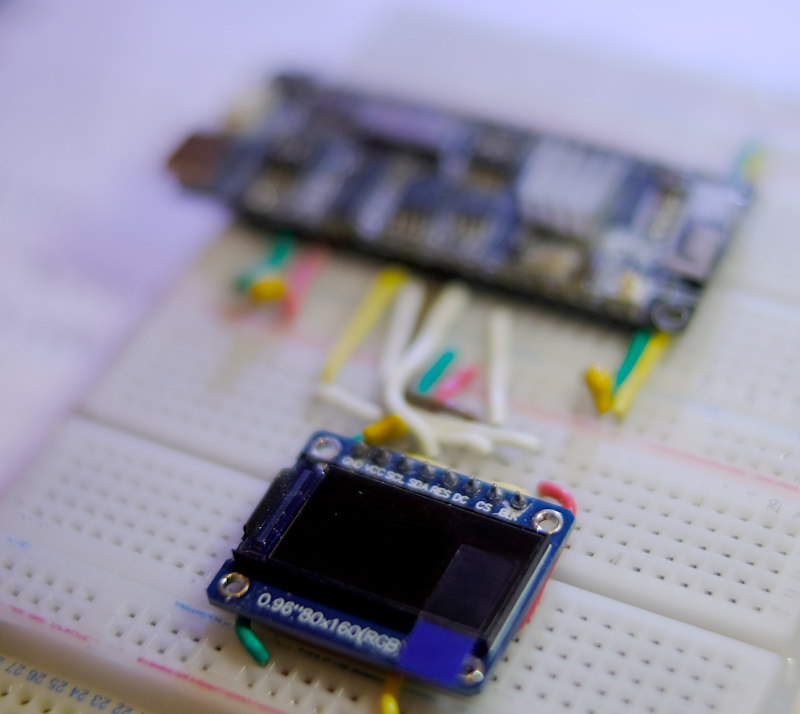
บทความนี้เป็นการใช้โมดูล ST7735s กับไมโครคอนโทรลเลอร์ ESP32-S2 ผ่านไลบรารี TFT_eSPI โดยในก่อนหน้านี้ได้กล่าวถึงการใช้งานกับไมโครคอนโทรลเลอร์ ESP32 และ STM32F103C ไปแล้ว และโมดูล TFT ที่เลือกใช้เป็น REDTAB80x160 (ได้เพิ่มเติมโค้ดสำหรับ GREENTAB80x160 ในตอนท้ายบทความ) แต่สามารถปรับดารตั้งค่าเป็นโมดูลอื่น ๆ ได้ โดยดูรายละเอียดจากไฟล์ User_Setup.h ของไลบรารี TFT_eSPI ดังภาพที่ 1

ภาพที่ 1 โมดูลแสดงผล TFT ขนาด 0.96″ แบบ IPS กับ ESP32-S2

[TH] Arduino: ใช้ SoftwareSerial กับ STM32F030F4

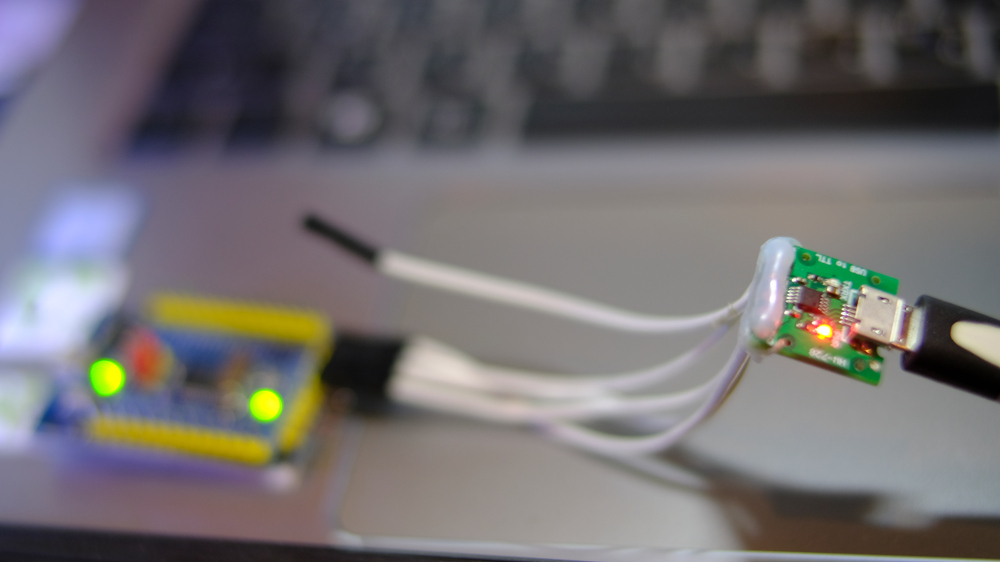
จากบทความแนะนำการใช้บอร์ด STM32F030F4P6 ที่ใช้การสื่อสารพอร์ตอนุกรมด้วยการใช้ไลบรารีเพิ่มเติมซึ่งทำให้ปริมาณหน่วยความจำไม่มากพอสำหรับใช้งาน ทางเราเลยลองเปลี่ยนมาใช้ SoftwareSerial ของเฟรมเวิร์ก Arduino และใช้ขา PA10 และ PA9 ต่อเข้ากับ RX และ TX ของโมดูลแปลง USB-RS232 ดังภาพที่ 1 และทดลองใช้งานตามการตั้งค่าของ Arduino IDE ดังภาพที่ 2 พร้อมทั้งสั่ง Toggle หลอด LED ที่เชื่อมต่อกับขา PA4 พบว่า เมื่อคอมไพล์โปรแกรมตัวอย่างแล้วมีการใช้ ใช้หน่วยความจำ ROM และ RAM เป็น 80% และ 21% ตามลำดับดังการรายงานจาก Arduino IDE ดังต่อไปนี้

Sketch uses 13188 bytes (80%) of program storage space. Maximum is 16384 bytes.
Global variables use 876 bytes (21%) of dynamic memory, leaving 3220 bytes for local variables. Maximum is 4096 bytes.
ภาพที่ 1 บอร์ด STM32F030F4P6 กับโมดูล CH340E