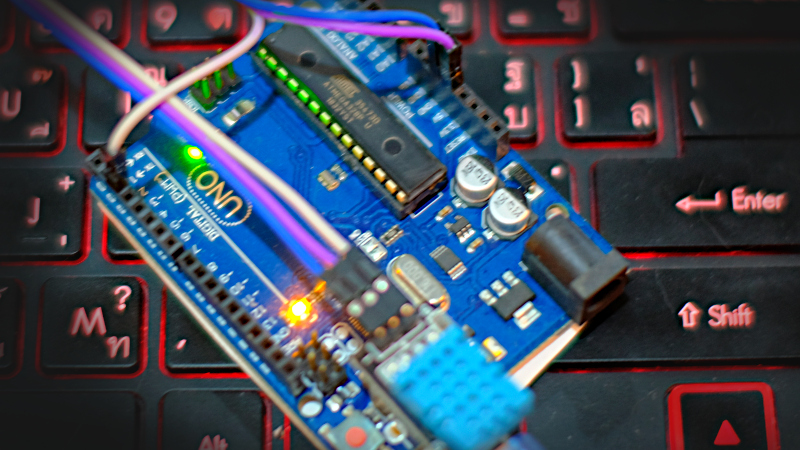
[EN] Using the DHT22/DHT11 Temperature and Humidity Sensor Module with ESP8266

This article uses the DHT22 and DHT11 temperature and humidity measurer modules with Python. They are sensor modules that operate using a single signal cable which will save the microcontroller’s port connection. In addition, MicroPython has a library prepared for DHT22 and DHT11 implementation, making it convenient, time-saving and reduce errors that may be caused by manual programming.

There are 3 examples in this article: code17-1 is a normal reading of values, but code17-2 is a loop to read again. By finding the highest and lowest values and display on the LCD module as shown in Figure 8 and example code17-3 showing the average value of temperature and humidity.
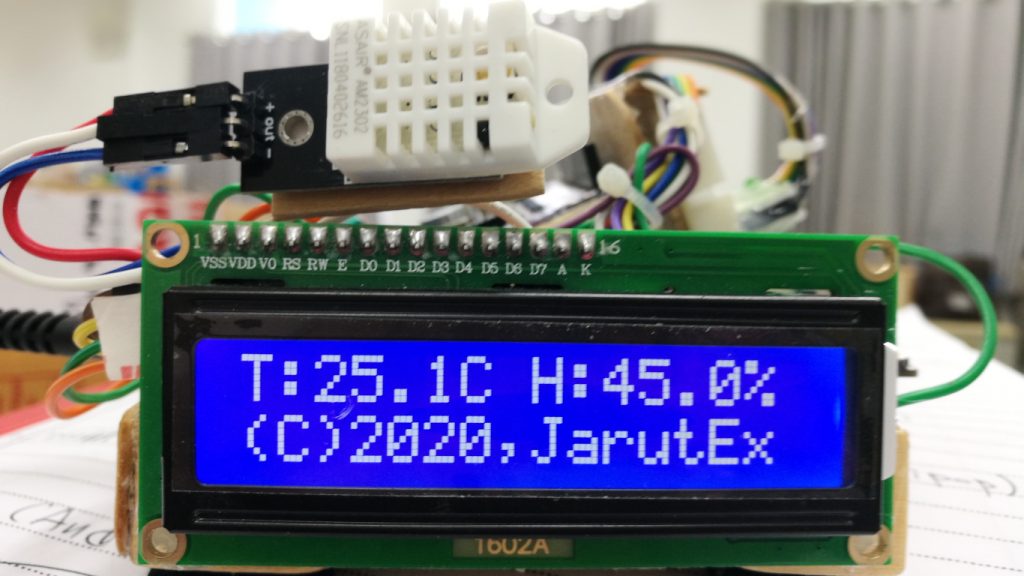
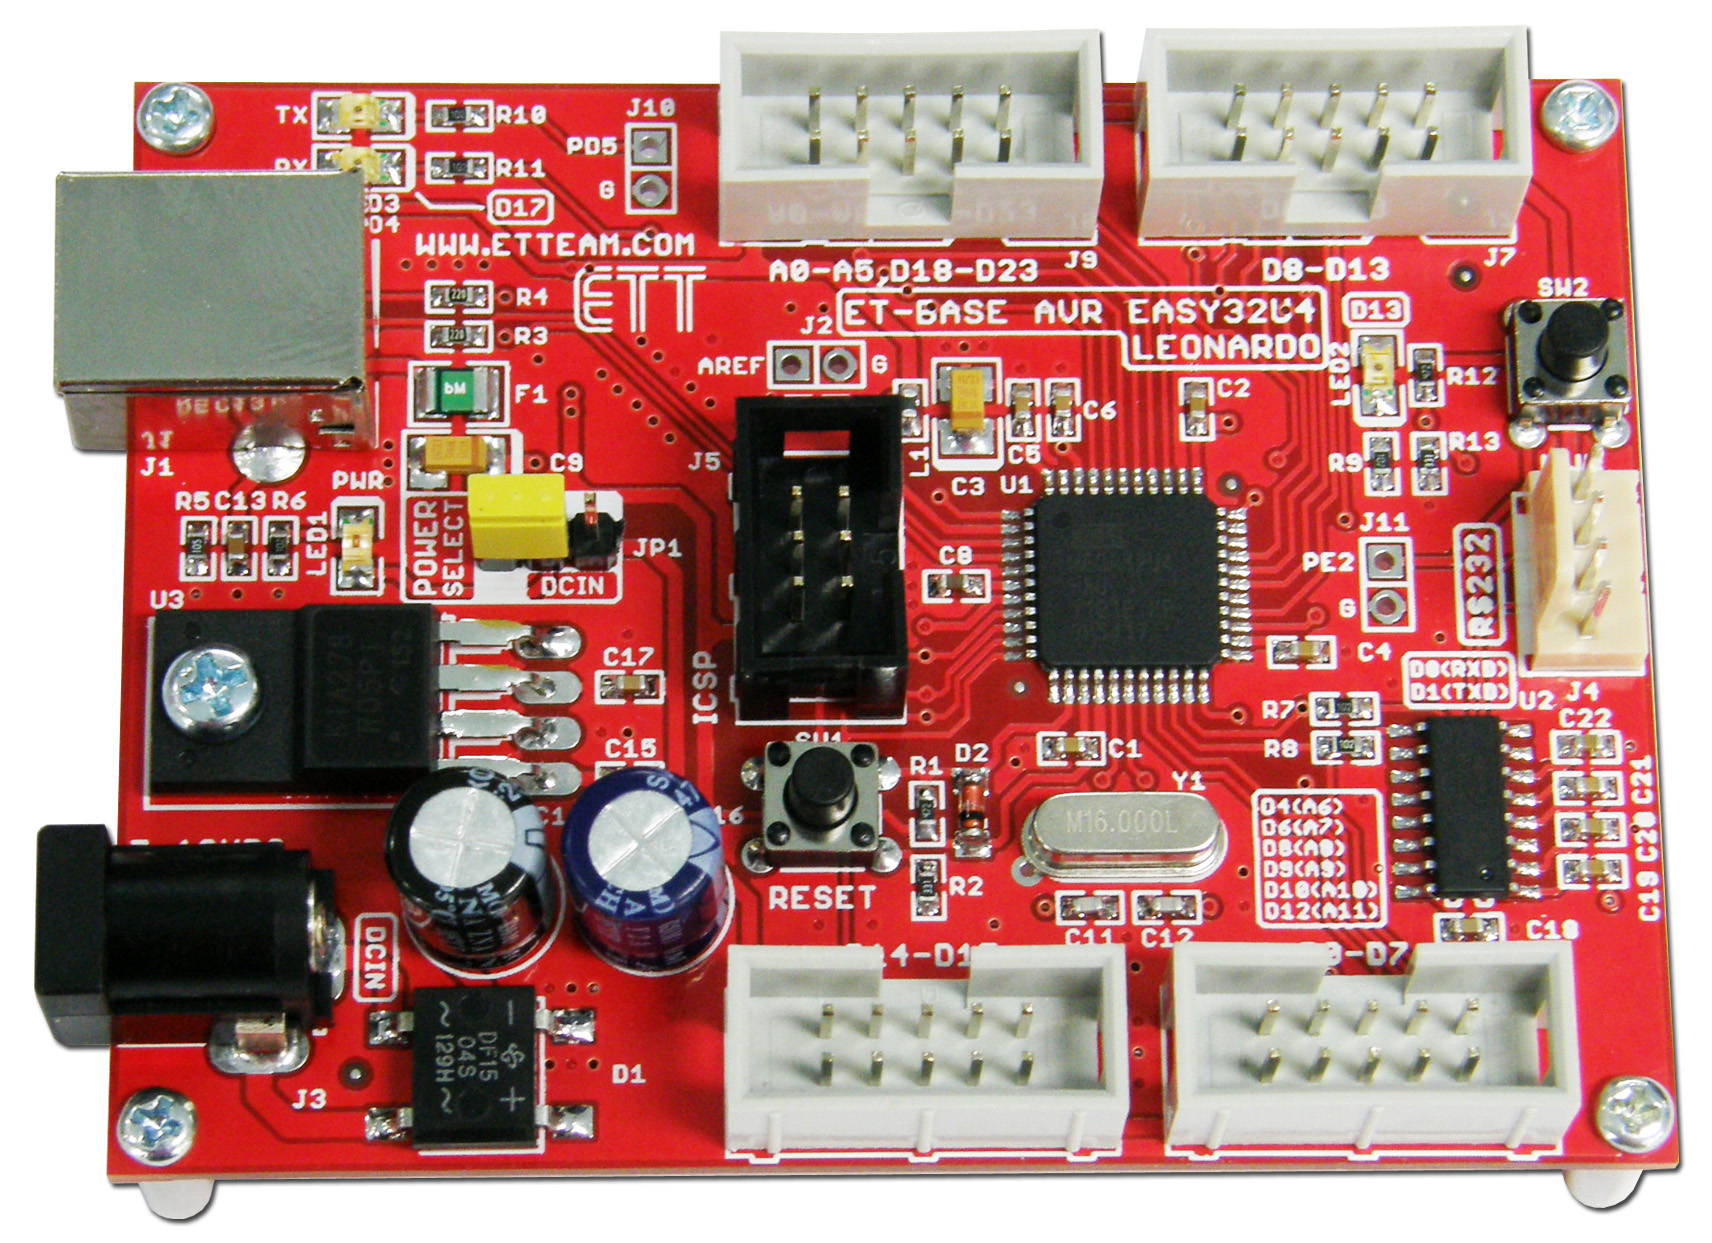
Figure 1 Result from code17-1

[EN] Binary Search Tree

This article is about programming C/C++ language with Arduino Nano, Arduino Uno, LGT8F328P [NANO F328P-C] and ET-BASE AVR EASY32U4 (Figure 1) or other boards and platforms using C language for learning to code another type of data structure management program that has different storage and management methods, called BST or Binary Search Tree, as in Figure 2, which is a structure that can be applied to collecting data with attributes in which the data on the left node is less than current node and the right node is greater than current node or the opposite, the left node is greater and the right noe is less. Thus, searching for data in the event that the tree is balanced both left and right on the BST structure saves time or number of searches per round by half of available data, for example, there are 100 data sets in the first round, if the current node is not what you’re looking for it, the choice left is to find from the left or right node. This selection causes the data of the other side to be ignored or cut it in half approximately but if the Binary Search Tree is unbalanced, the search speed will not be much different from the Sequential Search.

ET-BASE AVR EASY32U4
Figure 1 ET-BASE AVR EASY32U4

[EN] Doubly Linked-List

This article is about programming C/C++ language with Arduino Nano, Arduino Uno, LGT8F328P [NANO F328P-C], ET-BASE AVR EASY32U4 or other boards and platforms that use C language to store temperature/humidity data from the DHT11 sensor (Figure 1) with a dual linked list data structure. The basics of memory reservation, access, memory deallocation can be read in the previous article (Singly Linked List).

Figure 1 Arduino Uno and DHT11

[EN] Ender 3 V2

This article talks about the Ender 3 V2 3D printer, which is an improvement from Creality’s most popular models, Ender 3, Ender 3 Pro, with improvements in ease of assembly, usability, part quality, etc. This 3D printer is almost ideal for beginners who are just getting started with 3D printing.

Appearance

Figure 1 Ender 3 V2

[EN] Filaments

This article is about filaments, which are plastics that are melted and molded into desired objects. Talking about the properties of the popular Filament, there are 3 types: PLA, PETG, ABS.

Figure 1 PLA+ Filament

In 3D printing, it is indispensable that the molding medium is the Filament, each of which has different properties.

[EN] Hosting Unity WebGL game on the sever

This article discusses bringing a Unity-developed WebGL-style game onto a server running Ubuntu operating system in the Google Compute Engine.

Developing a game with Unity, we can code a game once and create a game on multiple systems, whether it’s Windows, Android or the web, etc. Before we can put our game on the server, we need to modify it. Build target to WebGL first by going to File > Build Settings and selecting Platform as WebGL as shown in Figure 1.

Figure 1 Selecting WebGL platform

[EN] PIC18F458 Ep.6 ADC

This article uses the GPIO of the PIC18F458 microcontroller connected to an ADC module or an analog-to-digital converter module for reading voltage levels in the 0 to 5V range from the input signal. This allows the system designer to consider the details of the voltage from the circuit, such as from the variable resistor, resistors change their values ​​according to the brightness or microphone values, for example, to process these values or enter the next working condition, such as reading the voltage to report the result as a voltage in the Lo, Hi or unstable level, etc. On the computer architecture experiment board, there are 4 sets of adjustable resistor circuits as shown in Figure 1 makes it possible to study programming to use the ADC module and be able to apply it in the future.

Figure 1 ADC module on the board

[EN] PIC18F458 Ep.5 GPIO and 7-Segments

This article is the application of GPIO of PIC18F458 to operate the circuit of 8 LEDs arranged in the same position as the numbers shown in Figure 1 by using 8 LED to be rearranged and called 7-Segment that can be applied to display numbers and another number of characters. In addition, the experimental board has installed a 7-Segment of 4 digits, allowing you to write a program to control the display of 4 digits of data.

Figure 1 Display on 7-Segment

[EN] PIC18F458 Ep.4 GPIO

After creating the project and basic programming code from the previous article using MPLAB X IDE, this article is the use of a microcontroller to be used as a signal output unit or Output and input signal or Input through the port of PIC18F458 both port A, B, C and D through circuit LED and Switch.

Figure 1 Architecture Lab Experiment Board with GPIO testing

[EN] PIC18F458 Ep.3 An Introduction to Using MPLAB X IDE with XC8.

This article uses the MPLAB X IDE development kit (Figure 1) for use with Microchip’s 8-bit microcontrollers in C language through a translation tool called XC8 as a baseline for the next article’s use. The procedure for developing a program with this tool is as follows:

  1. Create a project file and set the microcontroller chip type to PIC18F458.
  2. Generate a C language file for the XC8 translation Pack.
  3. Generate information about microcontroller settings to be pasted into the program code.
  4. Compile the program.
  5. Bring the resulting file to upload to the board via PICKit2 tool or later.
Figure 1 MPLAB X IDE + XC8 window