[EN] Cytron Maker Pi PICO with CircuitPython

This article is an introduction to Cytron’s Maker Pi PICO Board (Figure 1) equipped with a Raspberry Pi PICO microcontroller, as well as an expansion board with the basic equipment needed to practice programming and use, such as tubes, LED, memory card reader (micro SD-Card) or speakers, etc. In addition to the introduction of the board, this article discusses the installation and use CircuitPython which is Python that has adapted MicroPython for use with Adafruit and other third-party devices. For those interested in articles on MicroPython, we recommend consulting Dr. Rawat Siriphokaphirom’s website which has much more complete details than ours.

  1. MicroPython for RP2040 Pico
  2. RPi Pico RP2040 Code Examples
  3. PIO Programming
  4. PIO Signaling and Measurement
  5. There is also a section CircuitPython in the article CircuitPython for Pico RP2040
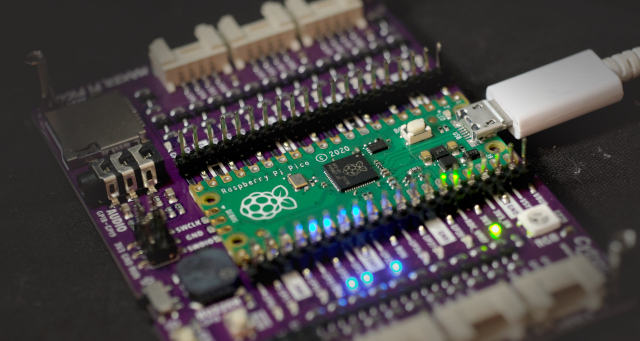
(Figure. 1 Maker Pi PICO)

[EN] Collecting flags in a maze

This article is an example of writing a game. Move the character to walk in the maze to collect flags that are randomly positioned as shown in Figure 1, where the character will walk in the specified channel and can’t penetrate the wall. With a warning sound when trying to walk in an impossible location and when walking in any direction will change the image of the character to turn the face to that direction. In addition, pressing A will randomize the position of the new flag, pressing B will randomize the player’s position, and pressing D will exit the program. The board for use is still dCoreML4M as before, let’s get started.

(Figure. 1 The game in this article)

[EN] The dCore-espWST

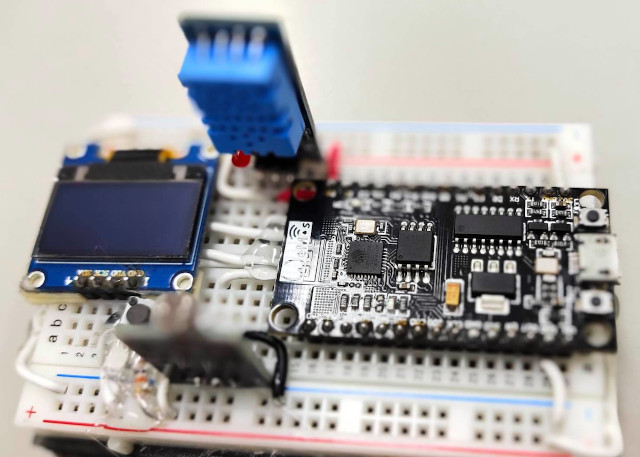
This article recommends using the esp8266 to read temperature and humidity from the DHT11 sensor, the voltage from the LDR sensor, received from the switch, and display via OLED with MicroPython’s Python language, this feature is the dCore-espWST board we are using (Which in the previous article we used the dCore-esp32WST with the same design, but using esp32, but the program code can still be used with the model board) and is a board for use in teaching IoT subjects. The prototype structure of the board is as shown in Figure 1, which is normally used with a battery power supply unit with a solar panel charging circuit.

(Figure. 1 dCore-espWSTprototype)

[EN] The MicroPython Internal File System.

This article is an implementation of the MicroPython file system using the esp8266 and esp32 microcontroller boards as an experimental board. The file system usage involves directories and files including connecting the device to be seen as a MicroPython file system, for example, connecting to an SD-Card to see it as a system directory, etc. It uses the os class to create, open, access, write data and disable files which will be part of MicroPython’s file class.

[EN] Client/Server Programming for Weather Stations via Wireless Networking

This article is a client/server programming example for a wireless network weather station (Client/Server Programming for Weather Stations via Wireless Networking) using two esp32 microcontrollers communicate over a wireless network. By setting the DHT22 and LDR sensor installed as a server working in AP mode and another esp32 microcontroller board working as a client and media via a custom port to read the temperature, humidity and digital values ​​obtained from the LDR sensor as shown in Figure 1.

(Figure. 1 Our board)

[EN] ESP8266/ESP32 WiFi

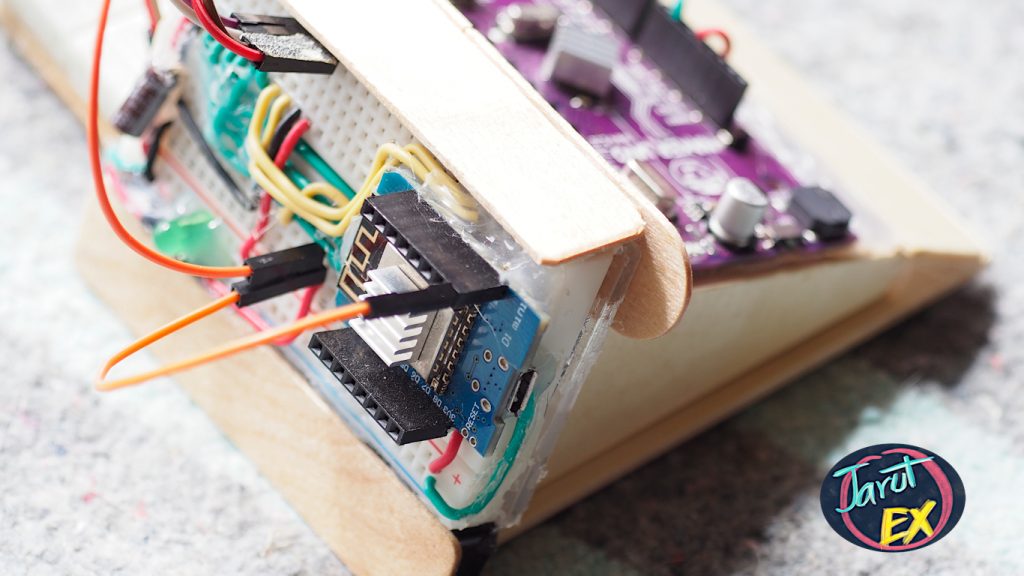
The ESP8266 and ESP32 boards are equipped with built-in WiFi connectivity. They can work in both self-application mode (Access Point) and client mode connected to an existing WiFi network or STA. Developers can set the device name (ESSID) or use the default name from the system as MicroPython-xxxx, where x represents the MAC Address of the device, the password is micropythoN (developers can assign new) and the IP Address (IP Address) is 192.168.4.1.

(Figure. Our ESP8266+Uno)

[EN] 15-Puzzle Game

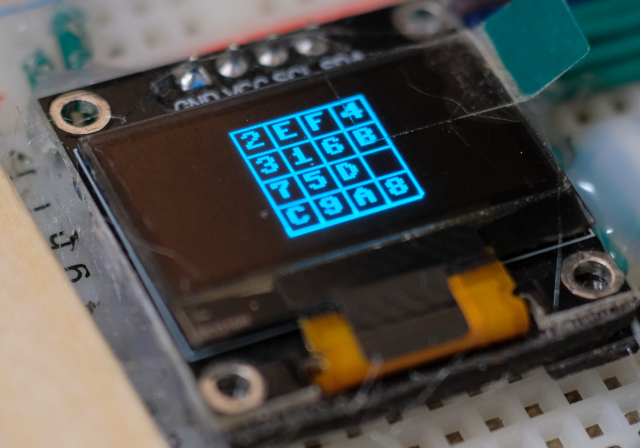
This article is an example of a 15-Puzzle game using the ml4m board with the results shown in Figure 1. It is a game that allows players to practice their strategic thinking skills, looking ahead to plan their shifting numbers. In addition to being in the form of numbers, it can also be changed from numbers to images, that is, transformed into an image and divided into 16 parts, and then allow the player to move the image to make it the same as the original. Also in the example, a buzzer is used to generate a beep sound using an 8-bit DAC of an esp32 microcontroller, as well as programming in Python on MicroPython.

(Figure. 1 4×4 random)

[EN] ESP32-ML4M : Tic-Tac-Toe Ep.2

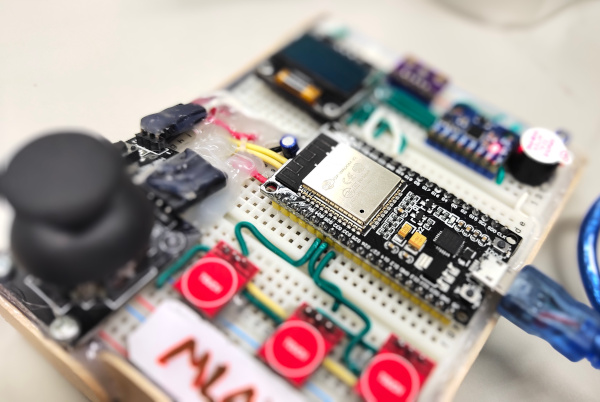
From the article Tic-Tac-Toe games or OC games played with computers (esp32) via the console of the terminal program are inconvenient. Now let’s learn how to use the esp32 peripheral circuit of the ML4M board (Figure 1), how it has an I/O circuit and how is Tic-Tac-Toe game is played through the device in which the code works with the joystick module and touch switch.

(Figure. 1 ml4m for Tic-Tac-Toe testing)

[EN] Tic-Tac-Toe

This article is a collection of examples of Tic-Tac-Toe games that our team uses to teach game development in different languages ​​as appropriate for the group of learners. But most of them use Python for teaching because it is easier to explain and write than other languages. In addition to wanting to see how it can be implemented on other platforms, we used an example with the MicroPython of a board we named ml4m. Based on this board, TensorFlow Lite is installed on an ESP32 with a 4MB ROM. The board looks like Figure 1.

(Figure. 1 ml4m for testing Tic-Tac-Toe)