[TH] PyTk

บทความนี้กล่าวถึง pytk อันเป็นไลบรารีเชื่อมประสานกับผู้ใช้แบบกราฟิกส์ หรือ GUI (Graphics User Interface) ของภาษาไพธอนที่เรียกใช้ tkinter (TK Interface) ทำให้สามารถเขียนโปรแกรม GUI ที่ทำงานได้ทั้งระบบปฏิบัติการ Windows, Linux และ macOS โดยการทำงานของ tkinter ของไพธอนเป็นการเชื่อมประสานกับไลบรารี Tcl/Tk อีกชั้นหนึ่ง และบทความนี้ใช้ Thonny เป็น IDE ในการเขียนโปรแกรมตัวอย่าและติดตั้งไลบรารี (อ่านบทความการใช้ Thonny)

การใช้งานจะต้องมีไลบรารี pytk ซึ่งสามารถเขียนโค้ดเพื่อทดสอบการติดตั้งไลบรารีด้วยโค้ดโปรแกรมภาษาไพธอนดังต่อไปนี้

try:
    import tkinter as tk
except ImportError:
    import sys
    print("ไม่พบไลบรารี tkinter!!!")
    sys.exit(0)
print("พร้อมสำหรับ tkinter")

[TH] Thonny 4

Thonny เป็นเครื่องมือประเภทสภาพแวดล้อมแบบบูรณาการ หรือ IDE (Integrated development environment) ที่พัฒนาโดยชาวอสโตเนียชื่อ Aivar Annamaa ในปี ค.ศ. 2015 ภายใต้สิทธิ์การใช้งานแบบเปิดเผยรหัสโปรแกรม (Open Source) แบบ MIT และคุณสมบัติของโปรแกรมนั้นครอบคลุมการเขียนโค้ด ตรวจสอบโค้ด บริหารจัดการไลบรารีของภาษาไพธอน และรันโปรแกรมภาษาไพธอนที่เขียนขึ้นทำให้เป็นซอฟต์แวร์ที่ทำงานในส่วนของการเขียนและทดสอบการทำงานที่ใช้งานง่ายเหมาะสมกับผู้เริ่มต้น

          การติดตั้ง Thonny ทำได้โดยดาวน์โหลดไฟล์ชื่อ thonny-xxl-4.1.1.exe จากเว็บไซต์ thonny.org ดังภาพที่ ก-1

ภาพที่ ก-1 หน้าจอเว็บไซต์ thonny.org

[EN]Calculate Regression with NumPy.


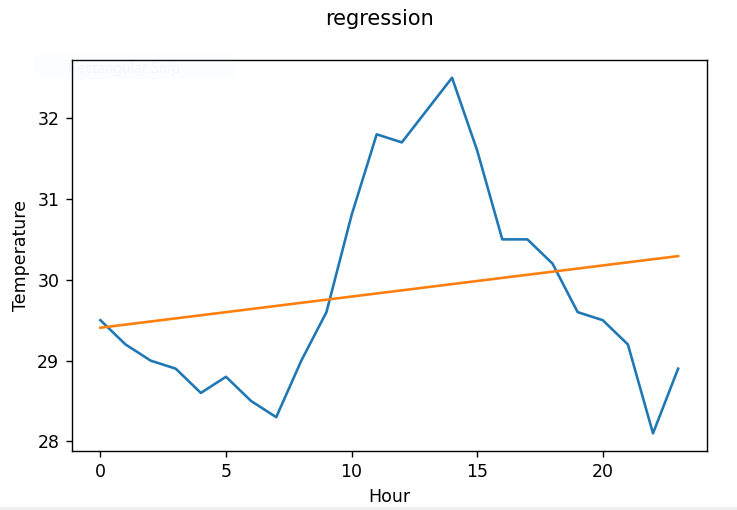
This article is to convert the implementation of the regression model from the article of ESP32-C3 to NumPy on Raspberry Pi and PC and use the display as Matplotlib, as shown in Figure 1, which can be found from the previous article. The temperature and humidity from the 1-day data were obtained from parameters a and b of the regression equation and the resulting equation or model was used to determine the possible temperature values over the 1 day.

Figure 1 Result of the program

[EN] Play the Wav File with ESP32.

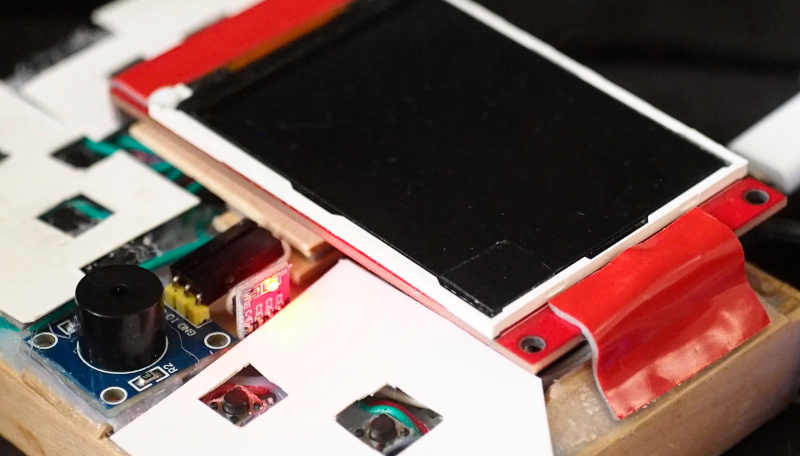
This article applies the ESP32 microcontroller’s DAC and MicroPython to open WAV files, which are audio recording files and exported to the DAC connected to the speakers as shown in Figure 1. The used file is an uncompressed 8-bit mono PCM audio file. And the sample program supports a sampling rate at about 50KHz or at 44100 level.

Figure 1 An example of a board to test the functionality of an article

[EN] Simple MineSweeper

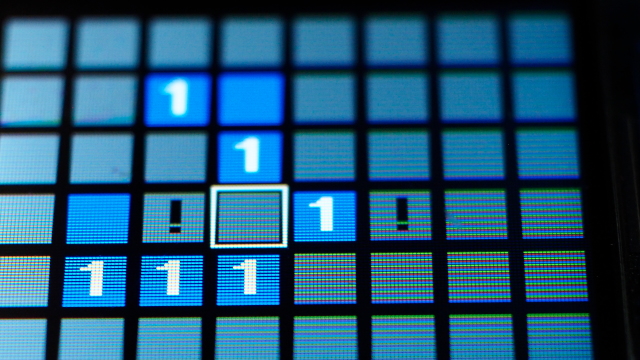
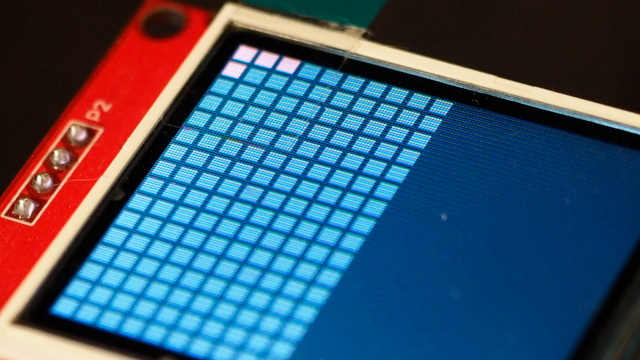
This article is an experiment to create a Simple MineSweeper as shown in Figure 1, using an ESP32 microcontroller board with a 1.8″ REDTAB st7735 display. The display resolution is 128×160, the same hardware as Simple Tetris [Part 1, Part 2 and part 3] mentioned earlier, still using MicroPython as the main. The explanation starts step by step from screen generation, randomization, counting, motion control, scrolling the options frame turn off visibility, establishing a relationship between identifying where the bomb is likely to be, picking open and counting points at the end of the game.

Simple MineSweeper is one of the first games we’ve been imitating to study ideas and develop programming techniques since the DOS era and the GUI-based Windows operating system DOS, which was written and worked on the DOS operating system at the time, change the mode to graphics mode to contact with mouse and draw pixels by yourself (It’s the same thing as writing on the ESP32 microcontroller board, but it doesn’t have an operating system to use) So let’s get started.

Figure 1 simple mineSweeper

[EN] Simple Tetris Ep.3

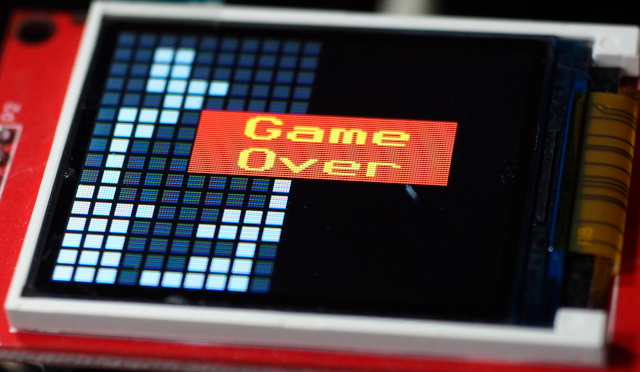
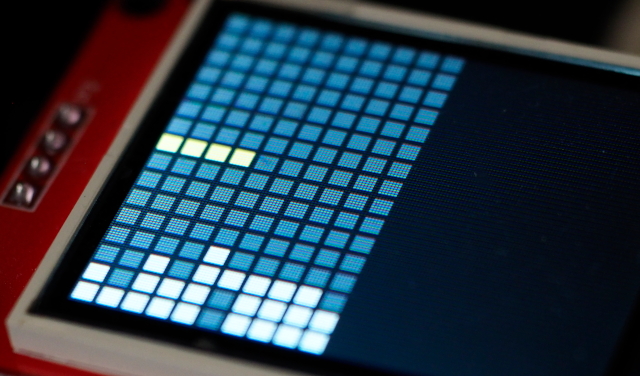
The final article on making a Simple Tetris game using MicroPython and an esp32 microcontroller, as written in parts 1 and 2 of the first two articles, is described in the article below. Readers learn to design data structures, drawing the seven types of falling objects and controlling them to move left, right, and rotate. The second article has the object fall from above and keep the object’s position state. And in this article, the falling objects can be stacked along with moving left, right, and rotating the object will check for collisions with previous objects that have fallen before. Also, check if the object falls to the bottom if there are any rows without spaces. If any rows with no spaces are found, they will be deleted. And finally added a section to check the end of the game in case there is no place for objects to fall and move again as in Figure 1, ending our simple game making process.

Figure 1 Our game in this article

[EN] Simple Tetris Ep.2

From the previous chapter, we have drawn the background, random objects, object drawing, left and right moving and rotating. In Part 2 of the article, which is the preceding final chapter of the Tetris series, the topic is about creating a backdrop as a grid data structure. If an object falls to the bottom, it converts that object to a table of data as shown in Figure 1, and improves the way the object falls and controls/renders the new object by using a timer without checking for collisions from moving left / right, checking if the falling object overlaps the previous object, rotation and row cutting, which will be discussed in the last article or Simple Tetris Ep.3

Figure 1 The game in this article

[EN] Simple Tetris Ep.1

This article introduces how to write a simple Tetris game by displaying it in a grid of 10 widths and a height of 16 as shown in Figure 1. Using esp32 microcontroller board connected to ST7735 display and 8 switches for controlling. Importantly it is written in Python via MicroPython compiled using the st7735_mpy library. In this article, we talk about storing 7 types of objects that fall, to support the display and rotation of objects with moving objects left and right. The controls and logic of the Tetris game will be discussed in the next article.

Figure 1 Sample game in this article

[EN] How to make the stopwatch?

From the article Create a clock that displays an analog display through a color display, this time, it has been modified to make it work as a timer or stopwatch by using the ESP32-CAM board connected to the TFT display and using a switch from pin GPIO0 used as a mode switch or program chip when booting the system or supply power to board ESP32-CAM as shown in Figure 1 and programming still uses Python language with MicroPython as always

Figure 1 dCore RED, esp32cam+REDTAB

[EN] Draw an analog clock using MicroPython.

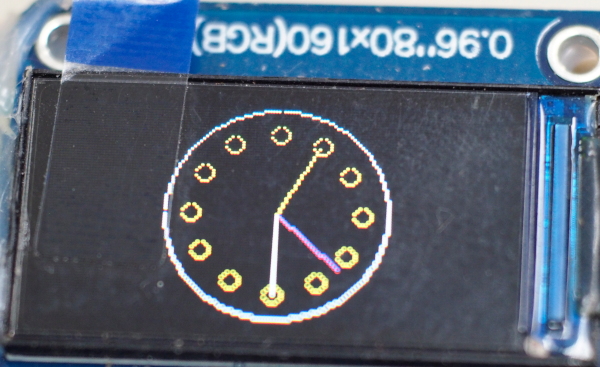
The previous article discussed how to improve the display speed by using the double buffer technique. It is applied for the analog clock display as shown in Figure 1. We used Trigonometric calculations to determine the coordinates (x,y) of the tips of the seconds, minutes and hours. Each second operation uses a timer to make the operation closer to real-time than the Loop or Delay.

Figure 1 Result of drawing Analog clock